
HARBOR x SCAD COLLABORATION
Process Breakdown · Winter 2025
SCAD × Harbor Picture Company
Role - 3D Lead · Look Dev · Lighting
Duration · 10 Weeks
Renderer · Karma (Houdini)
This project was a mentored VFX collaboration between SCAD's Animation & VFX department and Harbor Pictures. Over 10 weeks, my team of 5 built a luxury watch commercial entirely from the ground up, from a single log-line to final pixels, under the guidance of working industry professionals.
01
Weeks 1 - 2
Ideation & Pre-Production
Concept · Storyboards · Shoot · Reference
This project kicked off with a simple prompt - create a commercial for a luxury item. We were given a team to work with, each of use given specfic roles for the project. I was the 3D lead, responsible for Lighting and Look Development of our commercial. Among my crew were 3 FX artists, Bomin Kim, Mojie Tang, and Yiqi Zheng. We also were joined by Sydney Relkin, who was our designated compositor.

We brainstormed between Designer Brands, Bags/Purses, and a few Jewelry options. However, we ended up landing on Jewelry, with a heavy interest in luxury watches.
The log-line we came up with was as follows:
Created from primitive materials to the esteemed staple seen today, this watch is kept hidden for only the finest
We initially had the idea of doing a full scene with a story arc of a robber breaking into a high class jewelry manufacturer, turning off/dodging lasers to reach the LUXE watch encased in secure glass. However, we pivoted our idea to a combination of the high class LUXE vault with an assortment of CG advertisement shots. This was the Storyboard we came up with more or less at the start of our ideation. I drew the initial ideas, but Kailey Gorsuch (https://www.kaileygorsuch.com) did the actual drawings), was responsible for the following:

The live-action plates were captured on SCAD's GS stage and an adjacent dark room. Stand-in actor Tyler Gula served as the hand model, giving the process shots a grounded, human quality. Camera data from the shoot was used later to match CG cameras in Maya and Houdini, keeping the CG fully integrated with the plates.

However, Harbor's mentors flagged early that showing too much of the actor created a character relationship the piece didn't need. Pulling focus to just the hands kept the watch at the center of the story.
02
Weeks 2 – 4
Look Development
Shaders · Textures · Turntables · HDR
Look development was one of the most iterative and research-heavy phases of the project. Every material in the film needed to feel grounded and real, particularly the watch itself, which would be scrutinized in tight close-ups. The primary metals were Platinum, Brushed Steel, and Blue-Plated Steel, each built with extensive photo reference to capture the right surface quality and light response.

Early Color Palette References
After feedback from Harbor's Billy Jang, we incorporated a fourth metal, brushed gold, for the gears. His point was that real luxury watches lean into intricate, layered design; metals there were already very close in color/feel felt too sparse. The addition gave the watch depth and visual specificity that elevated it from a generic CG prop to something that felt designed.
All textures were built and tested in Karma as we were planning for a full Houdini > Karma > Nuke Pipeline
We used a custom HDRI for our shots, using captured images from set, we were able to use our own custom lighting and design reflections that we wanted for the renders.
The biggest challenge for look dev was the Bubble shader, who’s development was a deep dive into Snell's Law. Air bubbles in water effectively invert the standard IOR, rather than using 1.33 for water, the setup used a low transmission IOR (1.033) for subtle refraction and a high coat IOR (3.0) to capture specular highlights. The result shifted the look from "small rocks" to accurate air bubbles.
For further development in the future, I would look into using Nested Dialetics, to give a further level of control when rendering refractive elements such as bubbles.
03
Weeks 3 – 6
Scene Production
FX · Camera Matching · Simulation · Environment Build
With look dev underway, the team shifted into building the actual shots. As the 3D lead, my primary responsibility was camera matching, scene assembly, lighting, and rendering, coordinating closely with the FX artists. After much review and discussion, we shifted from incorporating live action footage to doing the commercial entirely in CG. Our Live action plates, while workable, weren’t keeping up with where the story developed to, so we made the decision to cut them and focus on working in CG.
The FX pipeline was split across three artists. Mojie Tang, who handled the FLIP fluid water simulation and the air bubble system. Yiqi Zheng built the molten platinum pouring effect, focusing on viscosity and surface tension to keep it feeling heavy and realistic. Bomin Kim took on both the opening forge fire and the procedural laser system/smoke for the final shot.
Here is the layout of the 5 shots we ended up going with

Shot 01 - The Forge
Fire, tongs, and molten platinum. The forge environment went through the most dramatic transformation of any shot — completely rebuilt mid-project and lit with emission from the actual flame geometry.
Shots 02 & 03 - Pouring & Mold
Water and molten material pouring shots. One of the more stable pairs in the cut — the environment grew steadily each week without major structural changes.
Shot 04 - Water Fill
Originally a camera pull, the team pivoted to pushing in as the water rises — matching the pacing of the wider cut and creating a more immersive transition into the hero shots.
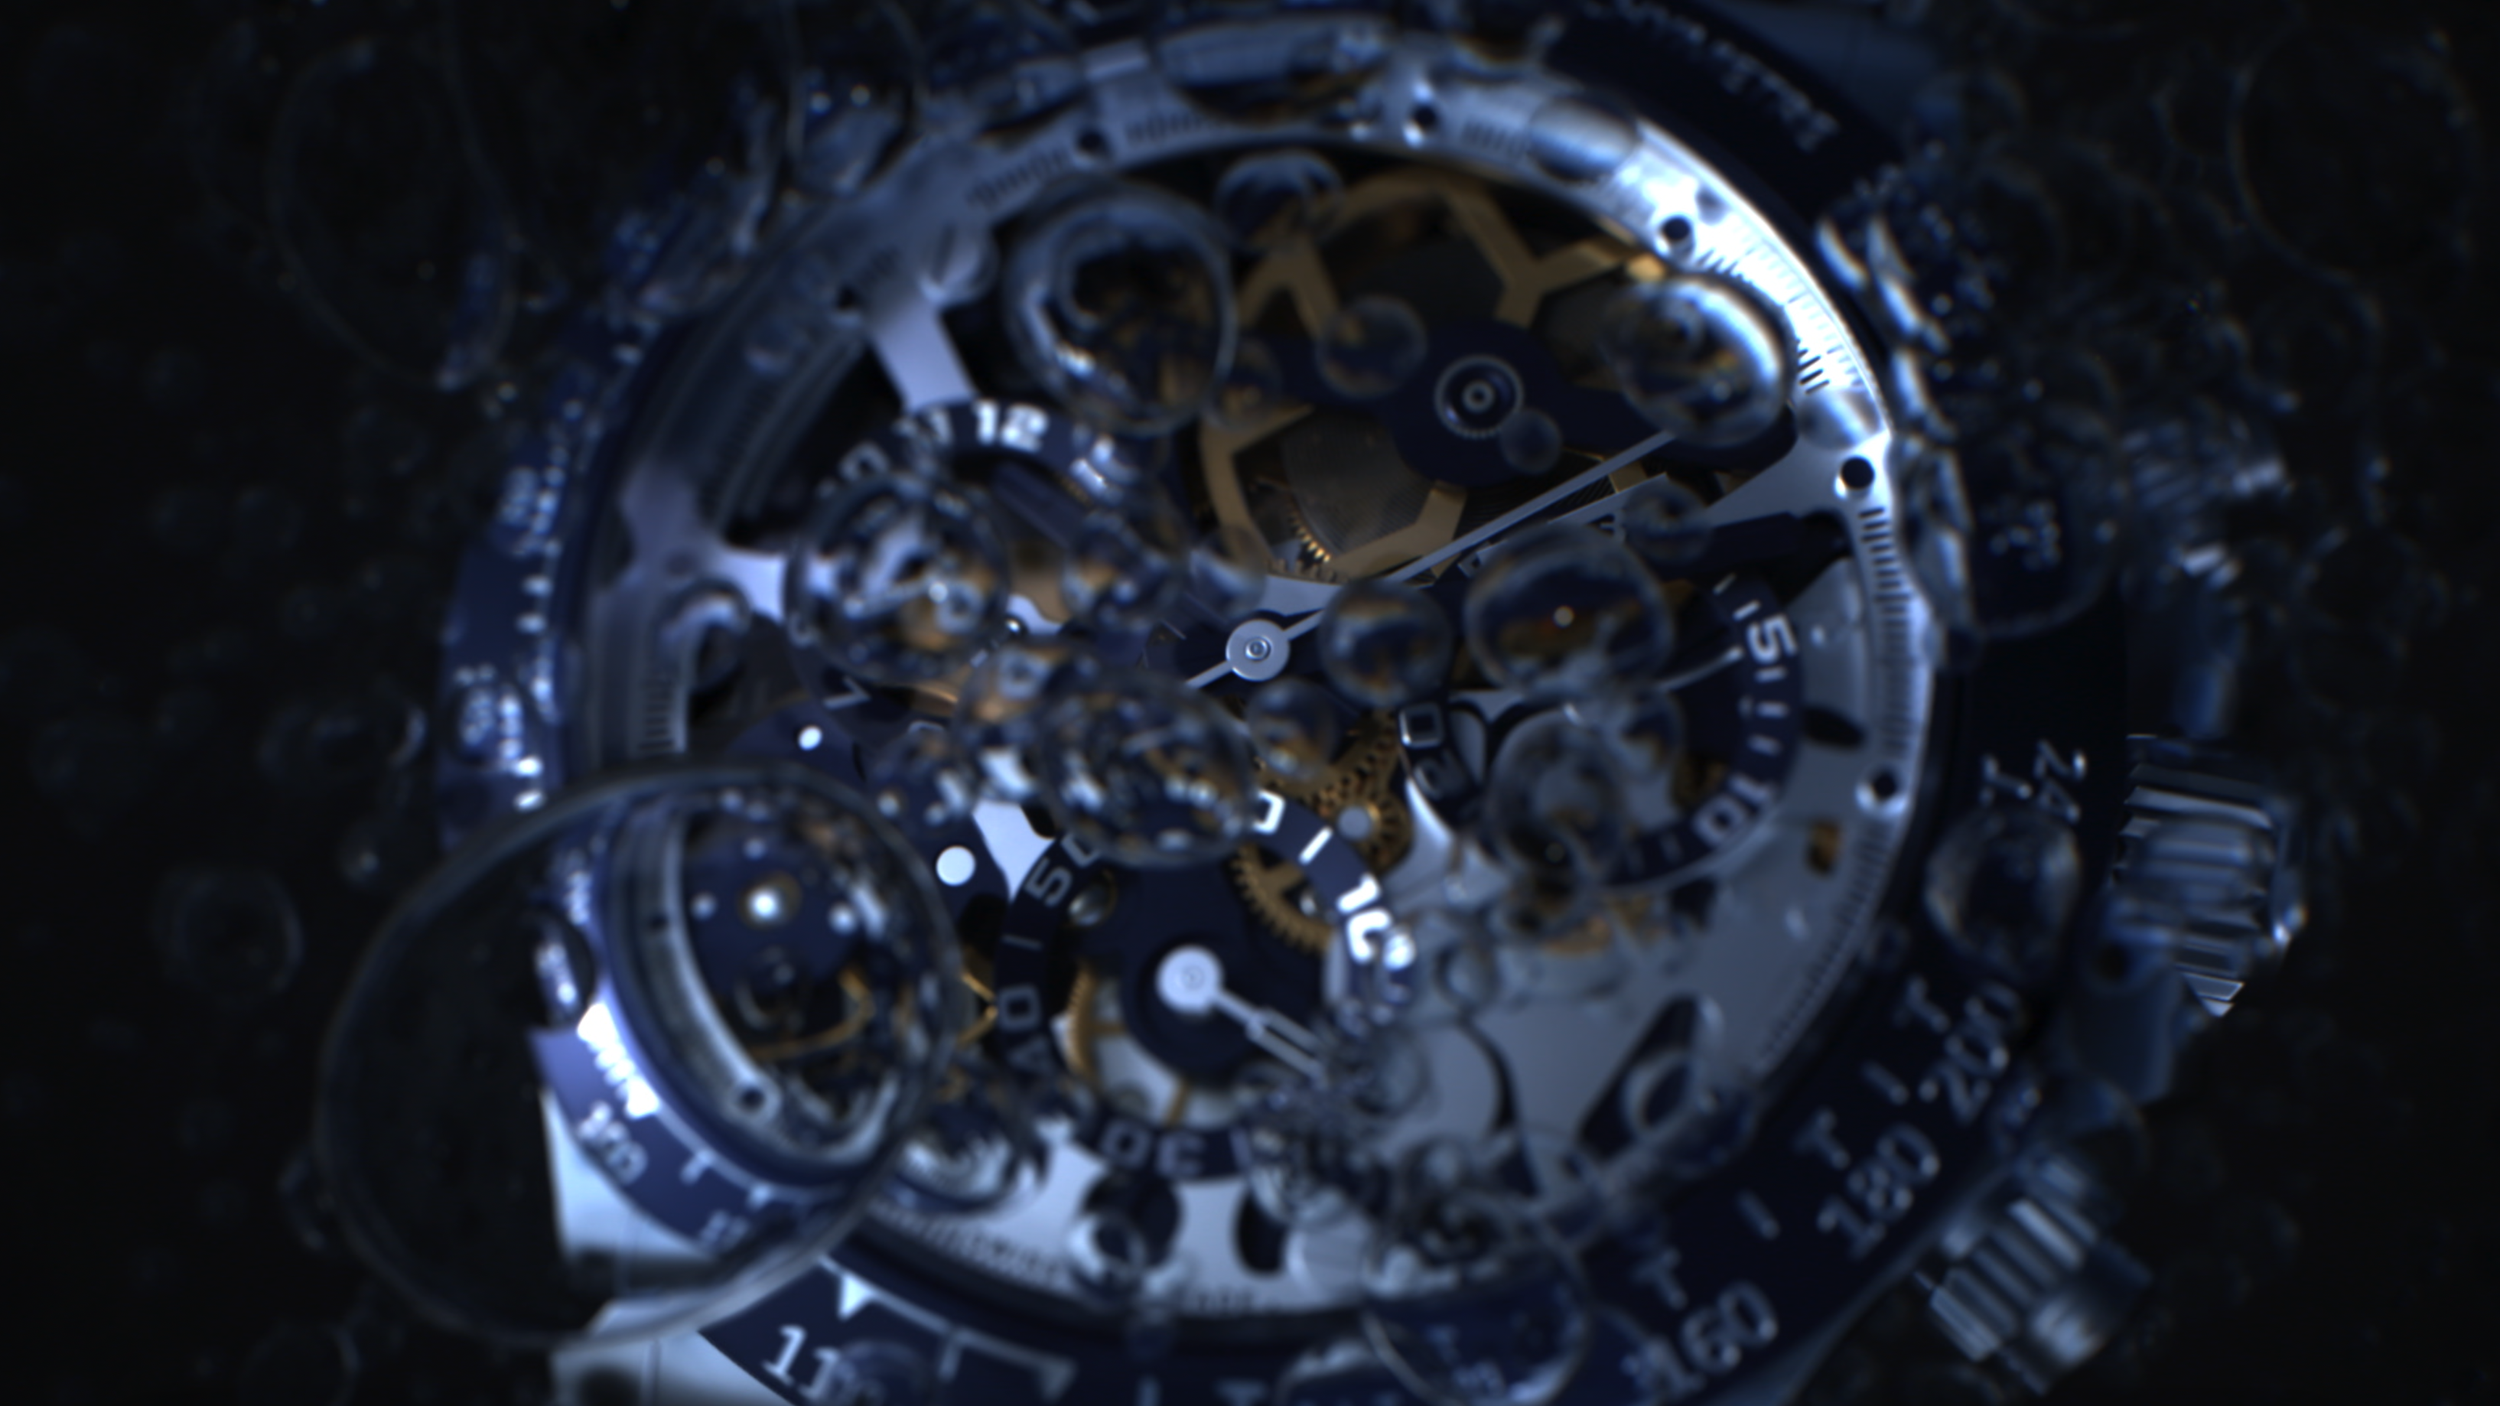
Shot 05 - Bubbles
The second most time-intensive shot. The bubble shader went through several full rebuilds. Separated into distinct render layers — watch, bubbles, glass — for compositor control over DOF and noise.
Shot 06 - Hero Reveal
The most complex shot in the project. Nine layers of smoke, a fully shaded watch in a leather-textured display case, and the most render optimization work of any shot in the film.
04
Weeks 6 – 9
Lighting & Shaders
Solaris · Karma · Render Layers · Deep EXR
Lighting happened in Houdini Solaris using the Karma renderer. Each shot was built with a layered approach, separating FX geometry from hard surface geo, and breaking out individual elements like the watch body, glass, and bubbles into their own render passes. This gave the compositor control over sampling rates independently, which made a meaningful difference in render time and noise management.

The mood the team was driving toward was deep, directional, and high-contrast, minimal ambient fill, with dramatic light sources that made the metallic surfaces sing. A key shift came after mentor feedback in Week 7: the lighting across several shots had been falling too flat and evenly distributed. The note was to push further than felt comfortable, then pull back. That approach unlocked a much more dynamic result.
Shot 01 required the most lighting iteration. The initial setup wasn't getting enough warmth and intensity from the forge fire. The fix involved converting the flame simulation into actual renderable geometry — emission from the flame mesh itself, supplemented by an animated spotlight placed inside the fire pipe. The improvement was immediately visible.

Shot 06 — the hero — presented the steepest challenge. The smoke layers (nine total) created enormous render overhead, and early attempts to export the USD for farm submission were crashing at anything over 15 frames. Optimization involved splitting the smoke into batches of three layers per submission, adjusting voxel counts in collaboration with FX artist Bomin Kim, and culling geometry aggressively to the camera frustum.
05
Weeks 8 – 9
Rendering & Wrangling
Farm Management · Geometry Culling · Optimization
Rendering was the most logistically demanding phase of the project, and one person was responsible for all of it, myself. With 20 render layers across six shots at 1080p, getting frames to the SCAD render farm cleanly and efficiently required constant attention. The farm has a 2-hour kill limit per job, which forced a number of heavy frames, particularly from the forge and water shots, to be rendered locally instead.
At peak, the workflow involved juggling 7 to 8 machines simultaneously. The water pouring shot hit an additional snag on top of this with textures failing to load when sent through the USD ROP, so roughly 20 frames had to be rendered locally at around 1.5 hours per frame, fun times.
To keep the heavy water and fluid simulations manageable at render time, the visible geometry was culled to the camera frustum. Two approaches were tested: the first used a group node driven by a frustum volume, points outside the volume were grouped and blasted. The second used a VEX wrangle to sample volume density per point and delete those falling outside. Both produced equivalent results; the wrangle approach was faster to evaluate on heavier caches. This technique reduced USD export weight significantly and helped stabilize farm submissions that had previously been crashing.

06
Week 9 – 10
Final Composite & Delivery
Final compositing was handled by Sydney Relkin in Nuke, working from the layered EXR passes and deep data delivered per shot. The render layer separation, keeping the watch body, FX geometry, glass, and environment on individual passes, gave her full control over color correction, noise balancing, and depth-of-field per element. The deep compositing pass was particularly impactful on shots with extended backgrounds, where a purely camera-projected DOF blur would have missed fine detail.
Sound design was contributed by Braden Little, a sound designer at SCAD who built the music and sound effects for the piece. Given the limited time available to him, the work he delivered added meaningful atmosphere to the cut, the forge, the water, and the final reveal all benefit from the sound layer.
Shot 01 made the biggest journey from start to finish, the forge was completely rebuilt, the lighting was reworked multiple times, and the final frame looks almost nothing like the original rough pass. Shot 05, the bubbles shot, is a personal favorite: the shader development that went into it was among the most technically interesting work in the project, and the final result reflects that investment.
Shot 06, the hero, demanded the most from every department. The render overhead, the complexity of the smoke layers, the watch shader at extreme close range, every element was pushed to its limit. The result is a shot that holds up under scrutiny, which after 10 weeks of iteration, feels like a genuine accomplishment.
Personal Reflection — Ten weeks, six shots, one renderer, and more sleepless weekends than anyone planned for. There are things that could be better, there always are. But for the timeline, the team size, and the scope of what was attempted, this is work worth being proud of.