
KING SHARK SCULPT
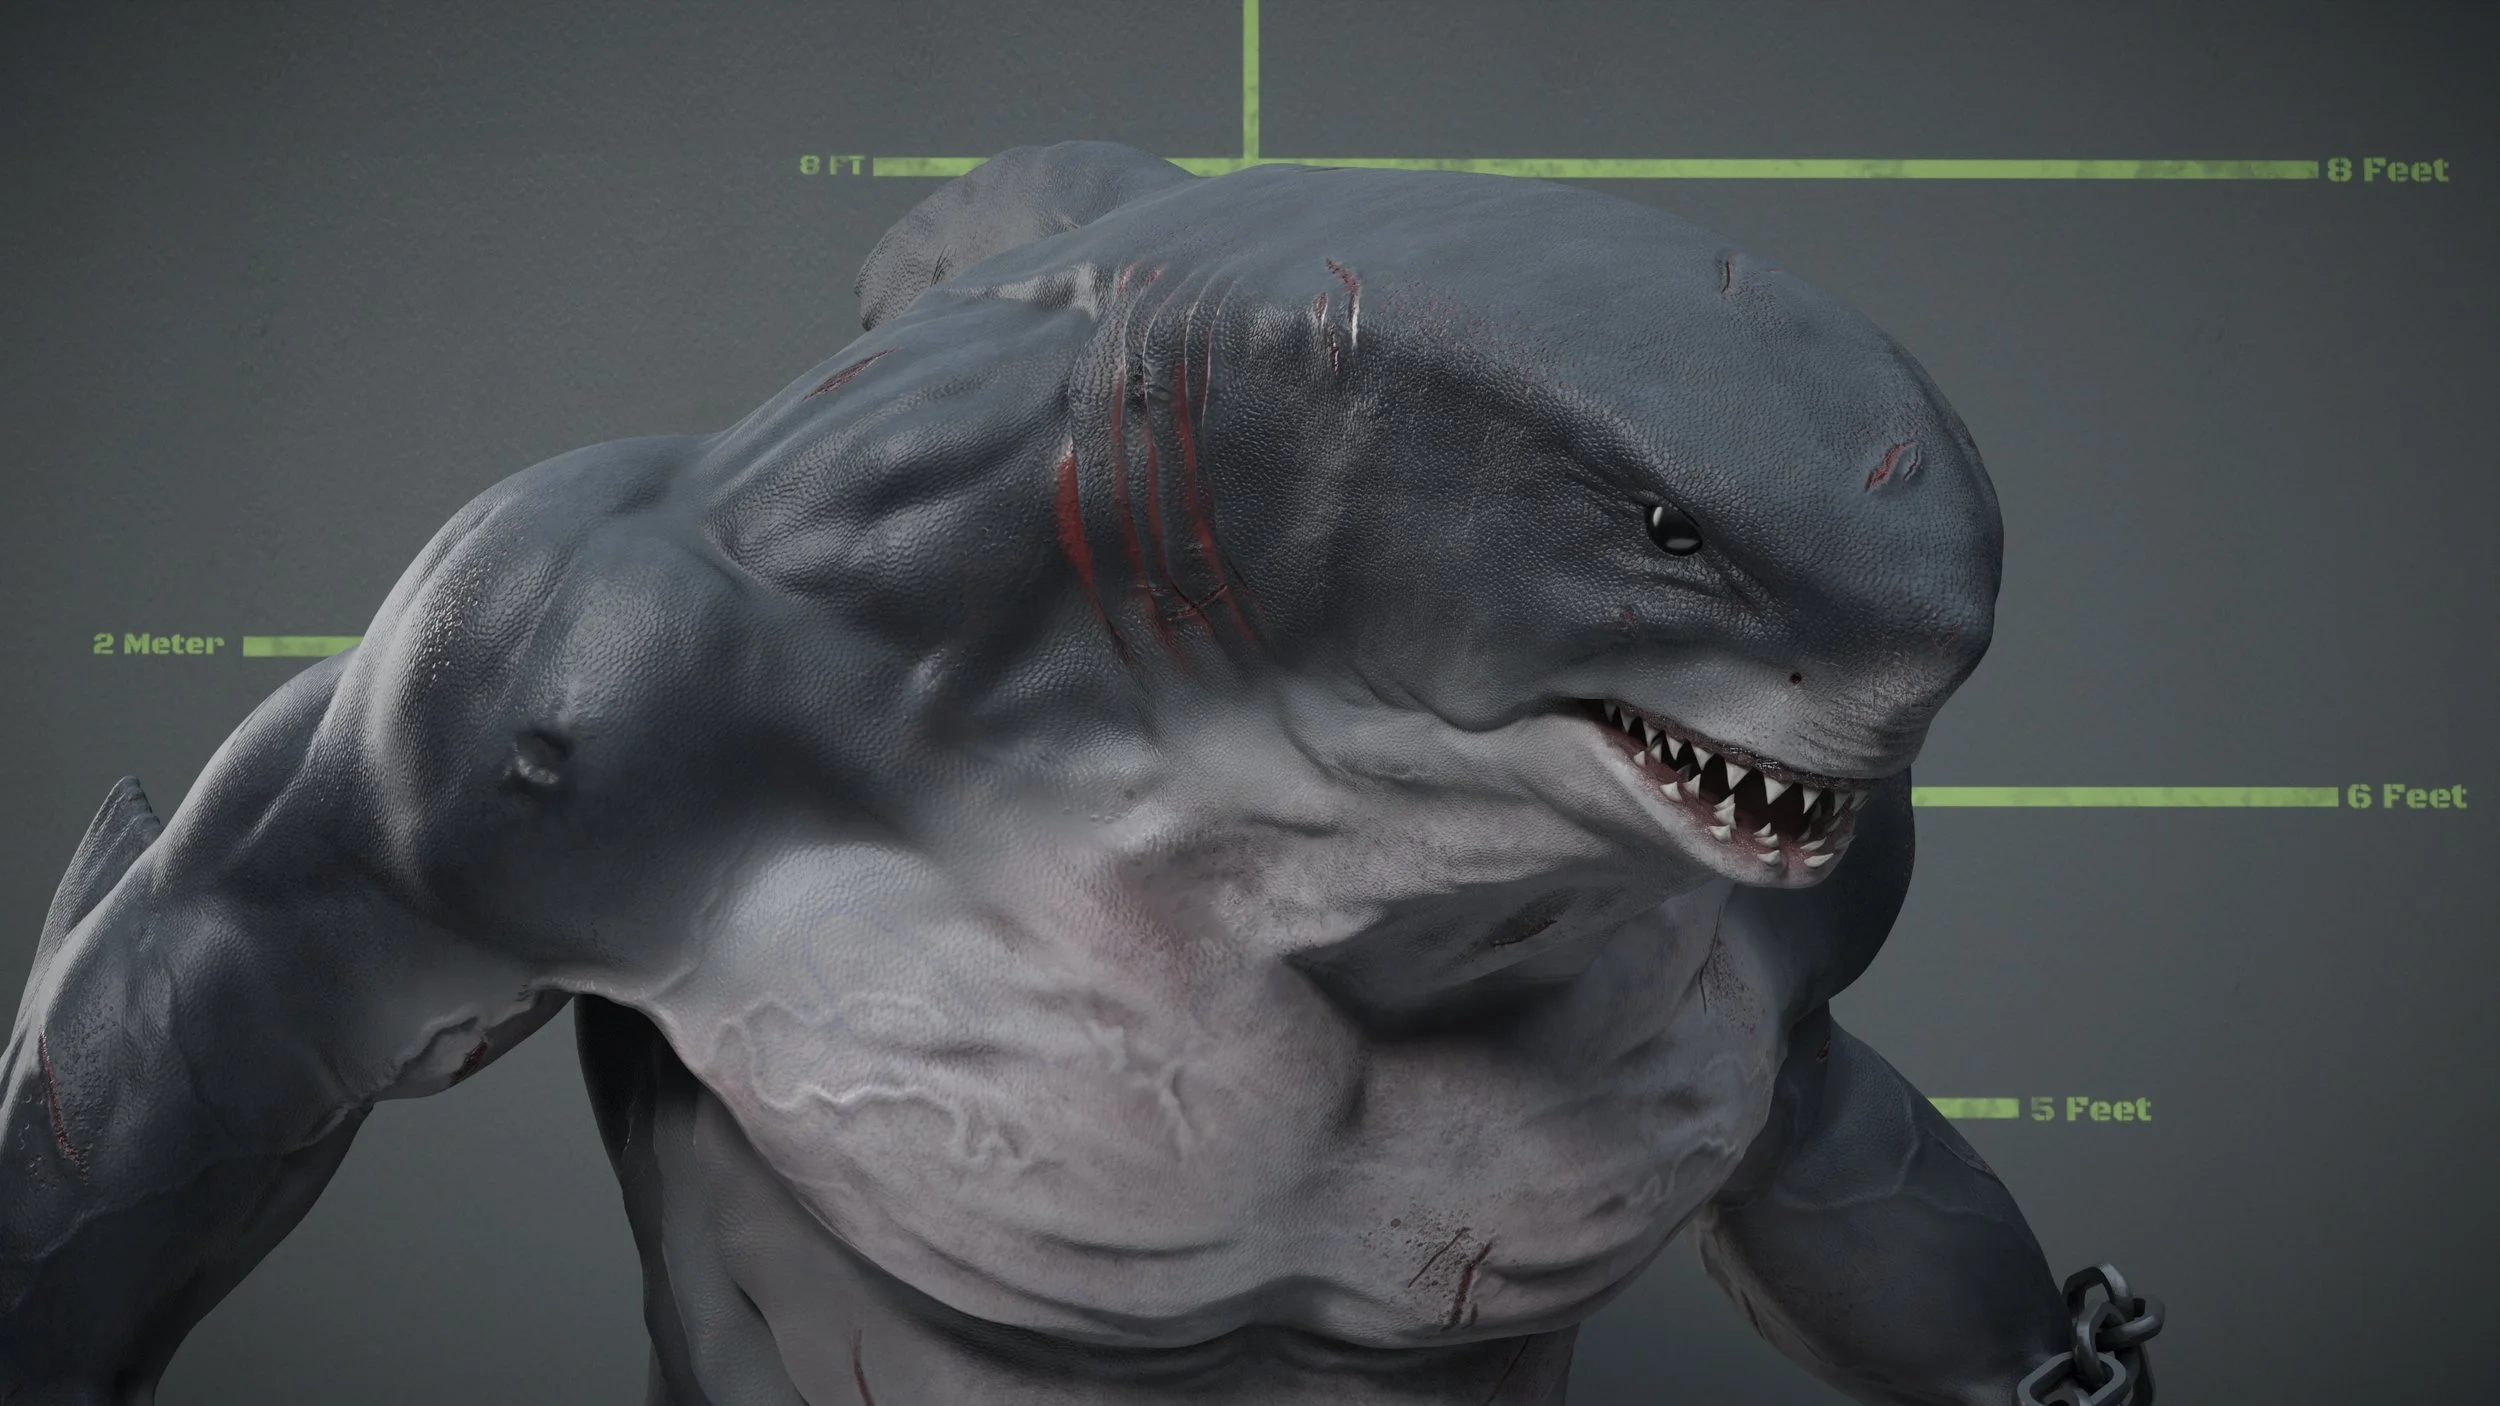
This is my first attempt at creating a 3D character sculpt. For this project, I am primarily working in ZBrush for sculpting, with plans to texture in Substance Painter and render using Houdini’s Karma.
I chose to create King Shark from The Flash as my subject. Since this is my first project, I wanted to work on a character that offers a strong amount of visual reference while also having personal significance to me. I’ve been a fan of The Flash for years, and King Shark stood out as a compelling and recognizable design to study and recreate.
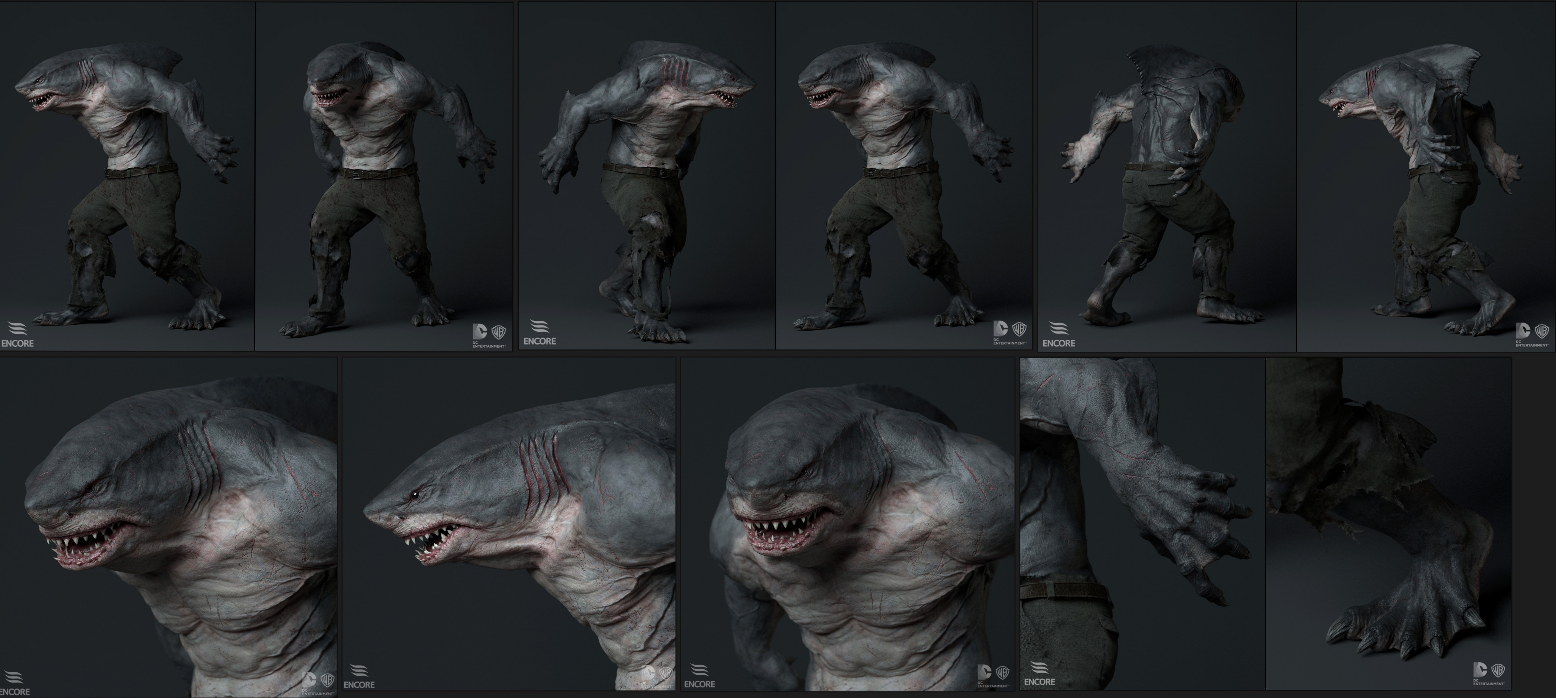
To better understand the character and approach, I reached out to the original artist who created the sculpt, James Ku. He provided valuable insights on how to approach the model and what aspects to prioritize during the sculpting process.
The reference images I am using are turntable renders sourced from his website. These images serve purely as reference, and none of them are my original work.
Here are James Ku’s personal links as well:
Website: https://www.jameskuart.com/
Linkedin: https://www.linkedin.com/in/jamesku3d
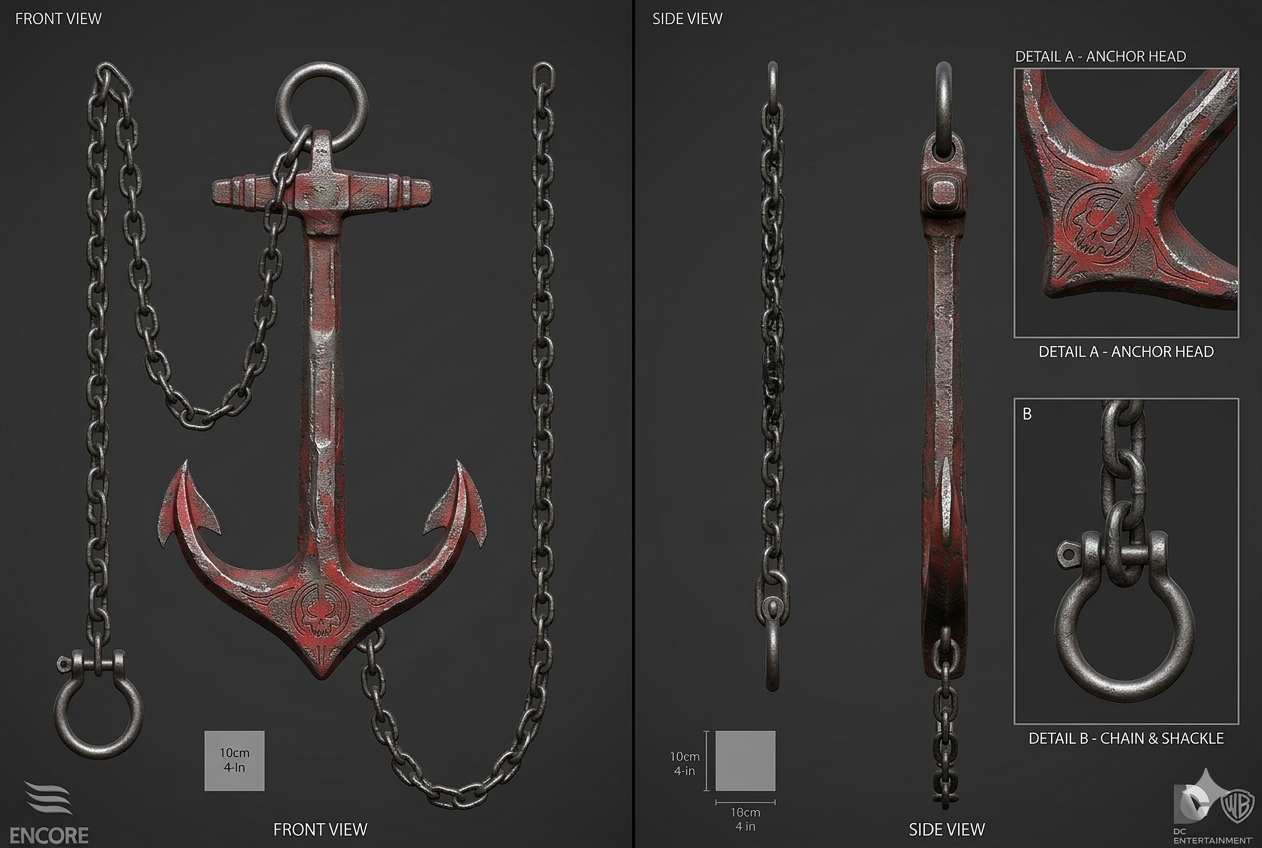
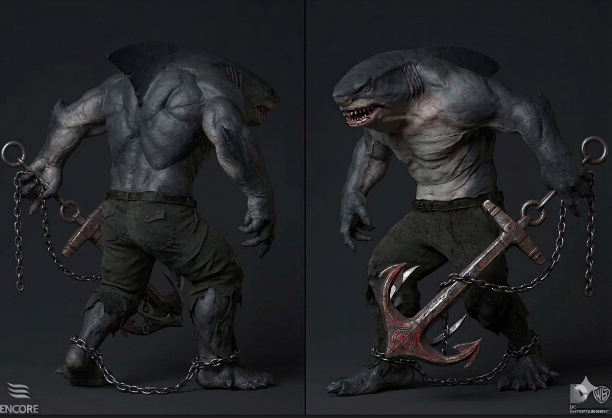
For my sculpt, I also want to incorporate a prop of some king, just to add to the narrative a little bit. The prop that I chose was an anchor, attached to a chain, like a rope dart (kyoketsu-shoge). Here is the prop turnaround and with my character. These are generated by Gemini, and are in no way my work.
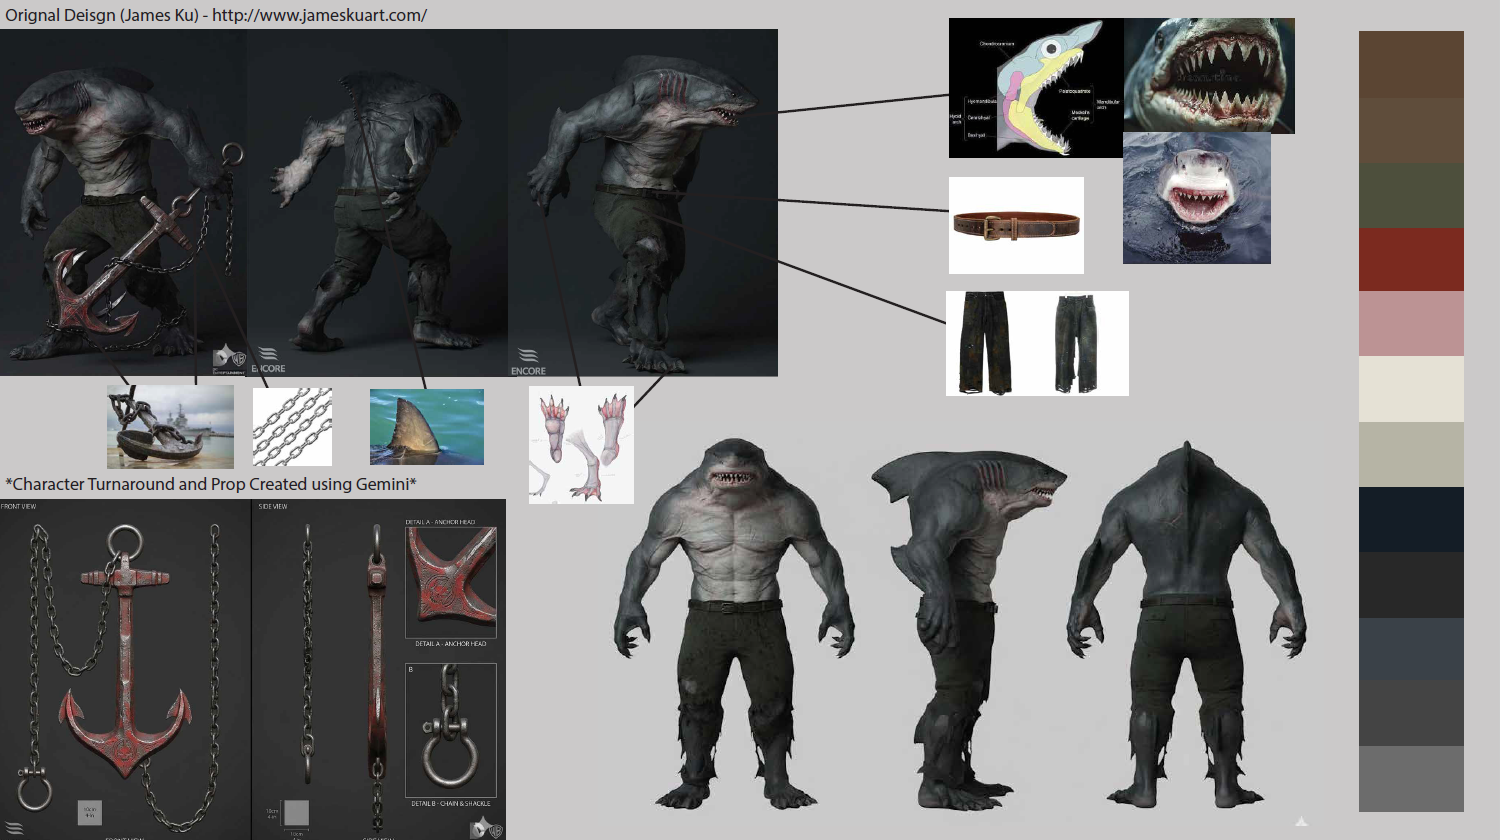
For this project, I aimed to build a deeper understanding of both human and shark anatomy. While visual references like images are helpful, engaging with research papers has been especially valuable in developing a more comprehensive perspective. This process has allowed me to better understand complex structures, such as the function of shark jaws, and to recognize the diversity across more than 500 shark species. Included here is a breakdown of my references, along with a curated color palette, annotated call-outs, and my primary reference document that guides this project.
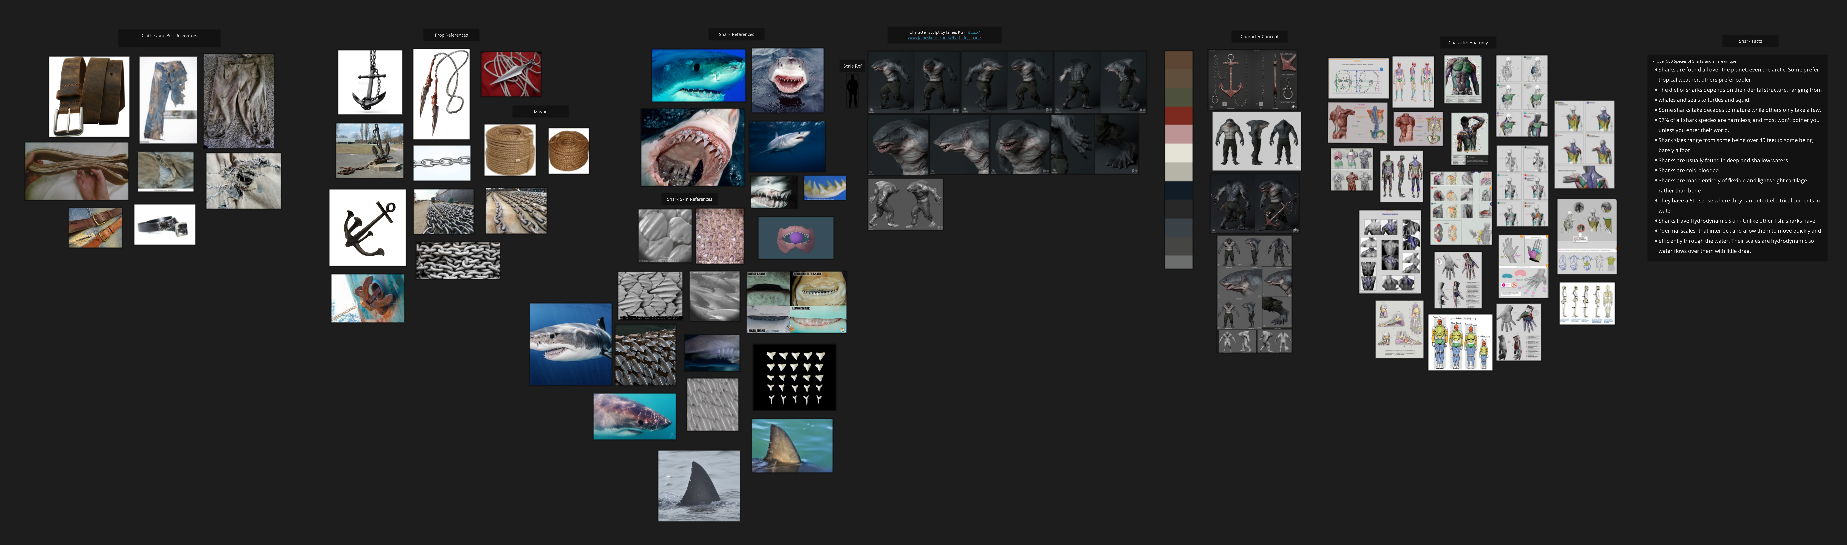
To begin, I focused on establishing a strong foundation by studying basic human anatomy, excluding the head. This allowed me to develop a clearer understanding of human proportions, as well as how muscles are positioned and function together across the body. Rather than defaulting to an overly muscular, lean physique, which is a common approach, I plan to further explore how fat is distributed and sits on both the human and shark body to create a more unique and realistic design.
This was my initial block out. While it’s far from perfect, it served as valuable practice and a solid starting point for the project.
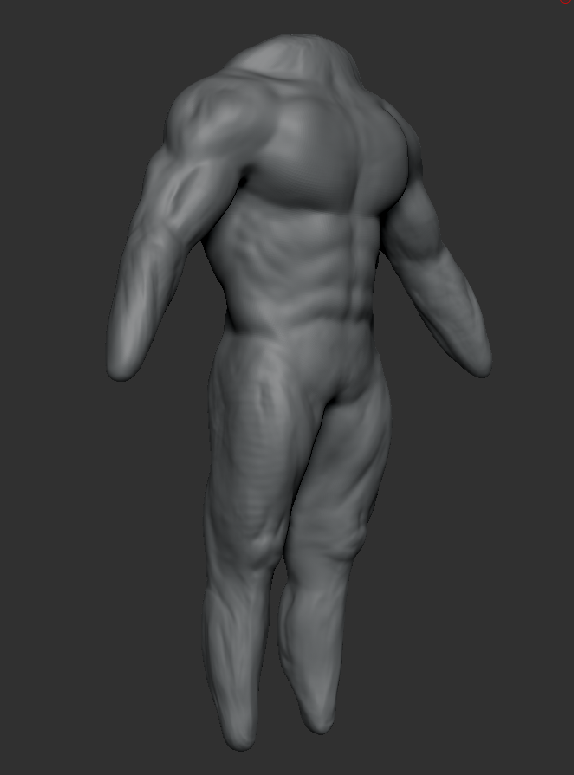
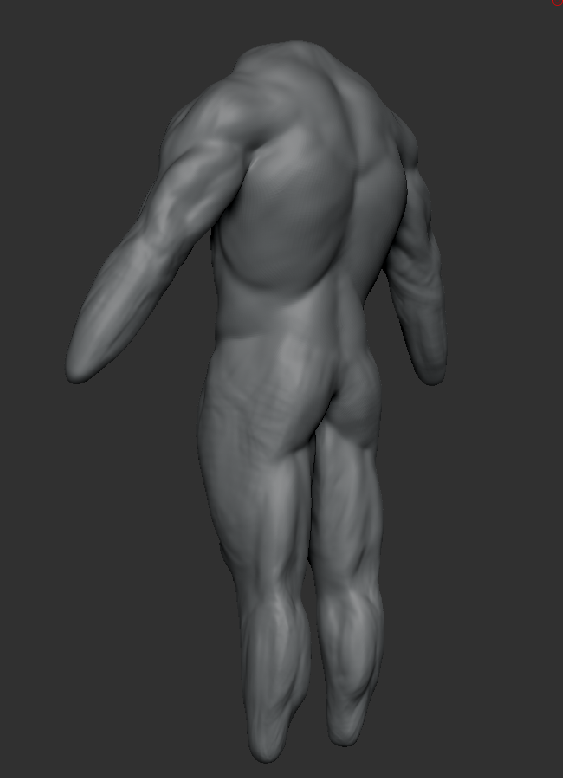
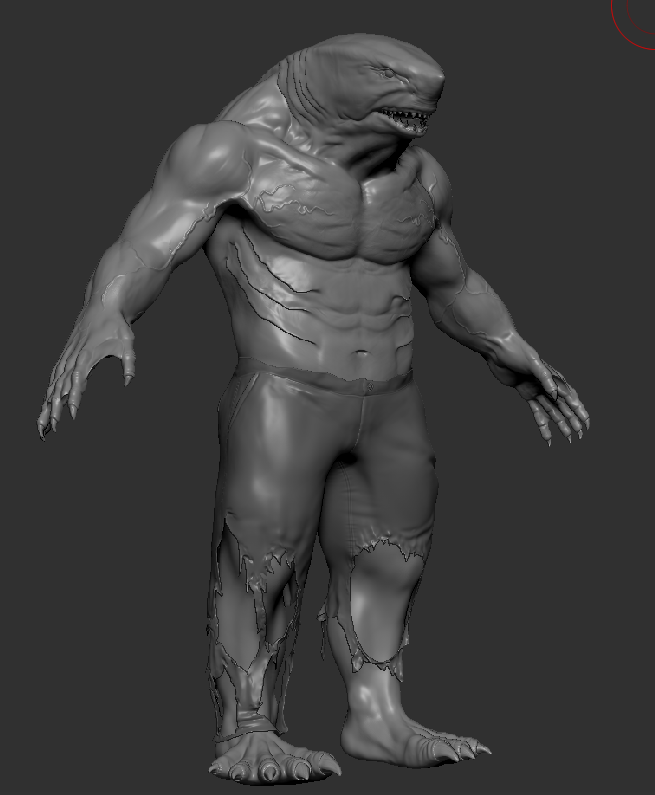
After getting the base shape for all parts of my sculpt, I was able to up the poly count/subdivisions and start on the finer details. I fire worked on refining and sculpting muscle definition and gradually getting the proper look I want for my character.
Here is the final for the first pass of details, adding to primary details and incorporating secondary details.
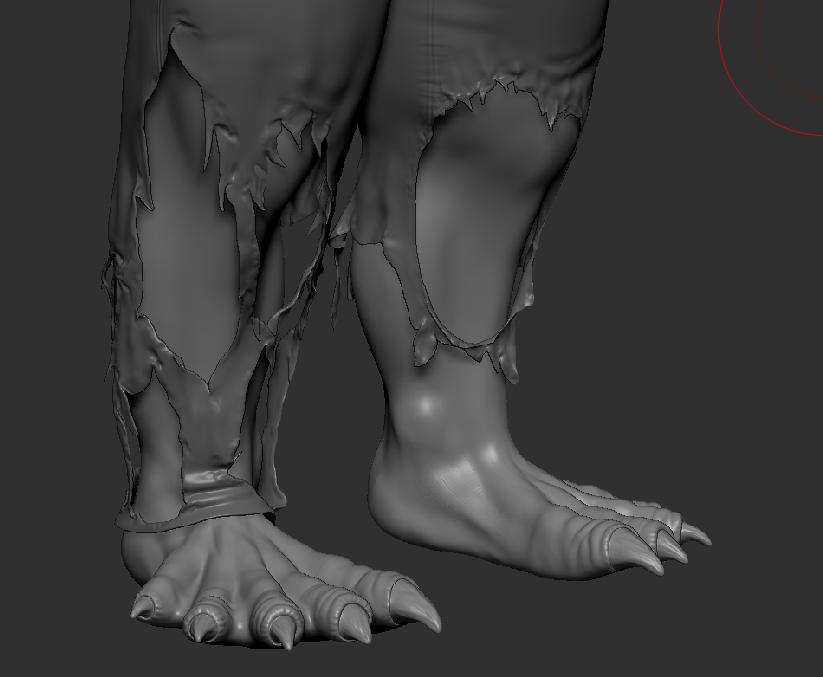
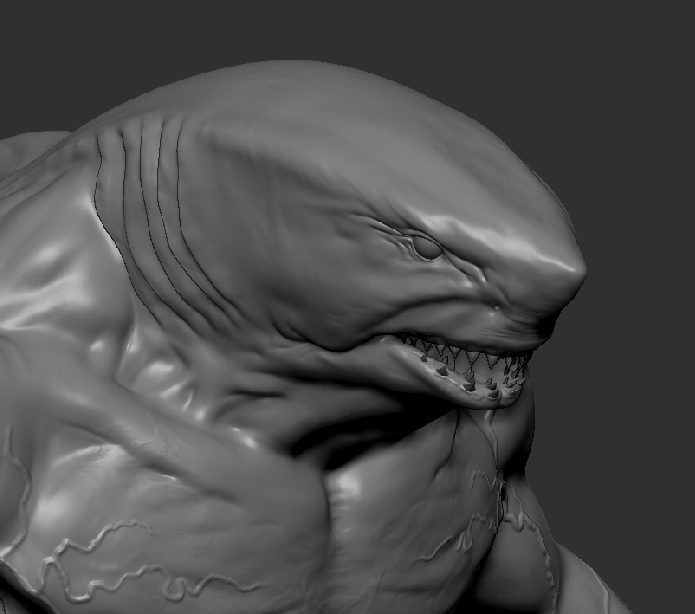
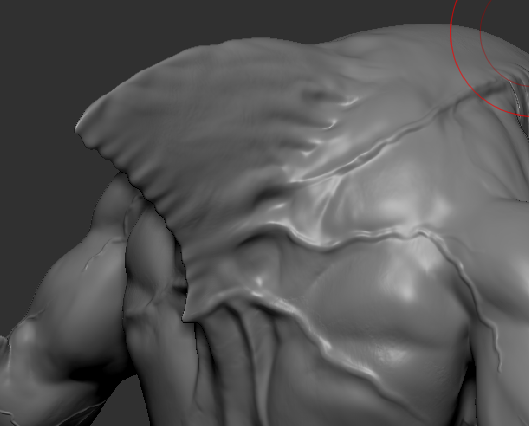
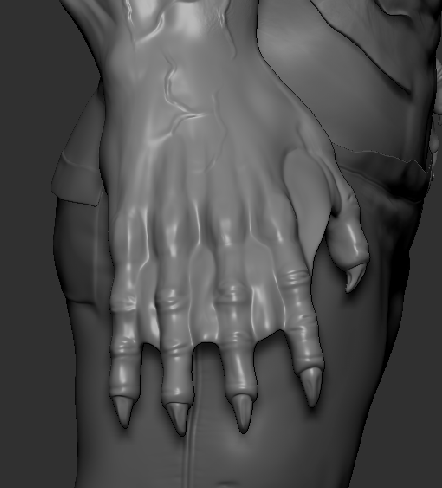
I also began the work on my Prop, going further than my character on tertiary details since it is such a basic object. I planned to use ZModeler but in 2026.0.1 (the only version I have here at SCAD), it crashes constantly. So I made the basic model in Maya and brought it back into ZBrush for the secondary and tertiary details. Here is the first pass of my anchor prop.
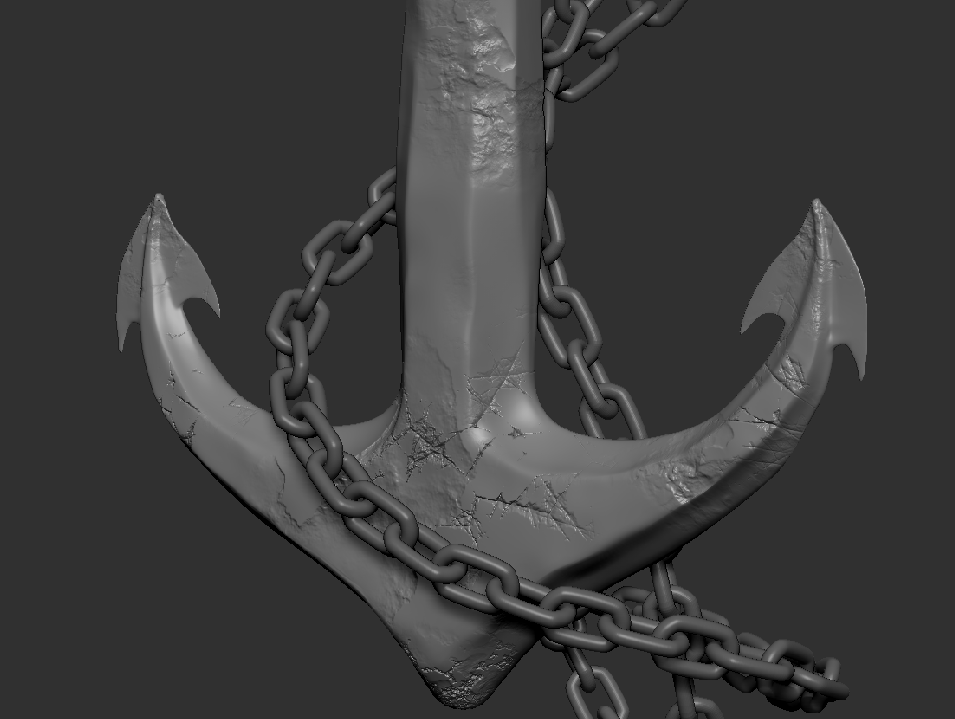
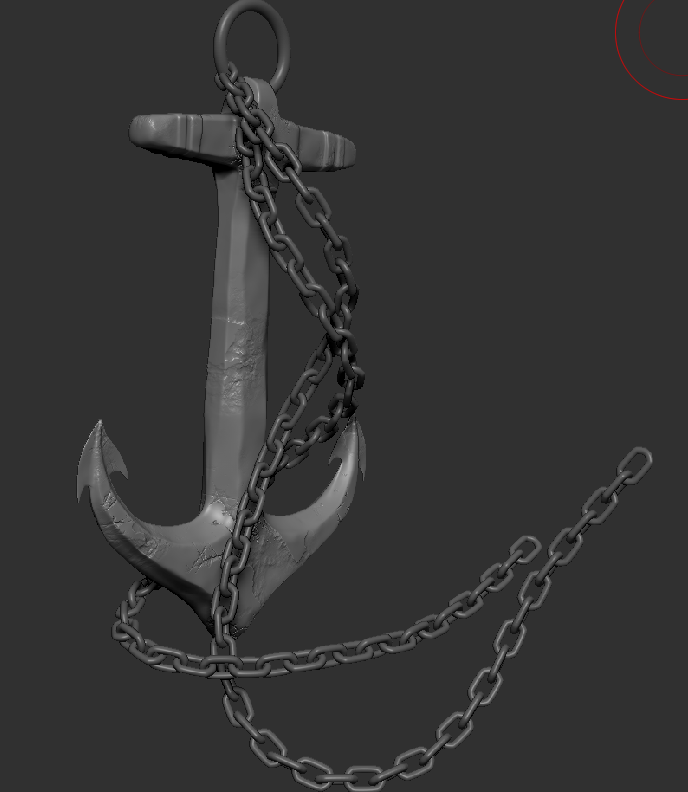
Here is a rendered Turntable of the primary and Secondary details of my character. Next up is tertiary details (Skin and Scales) followed by retopology and look dev.
While I was doing my final sculpt details, including the shark skin/scales, as well as scratches/gashes, I have been working one a fun character pipeline in Houdini.
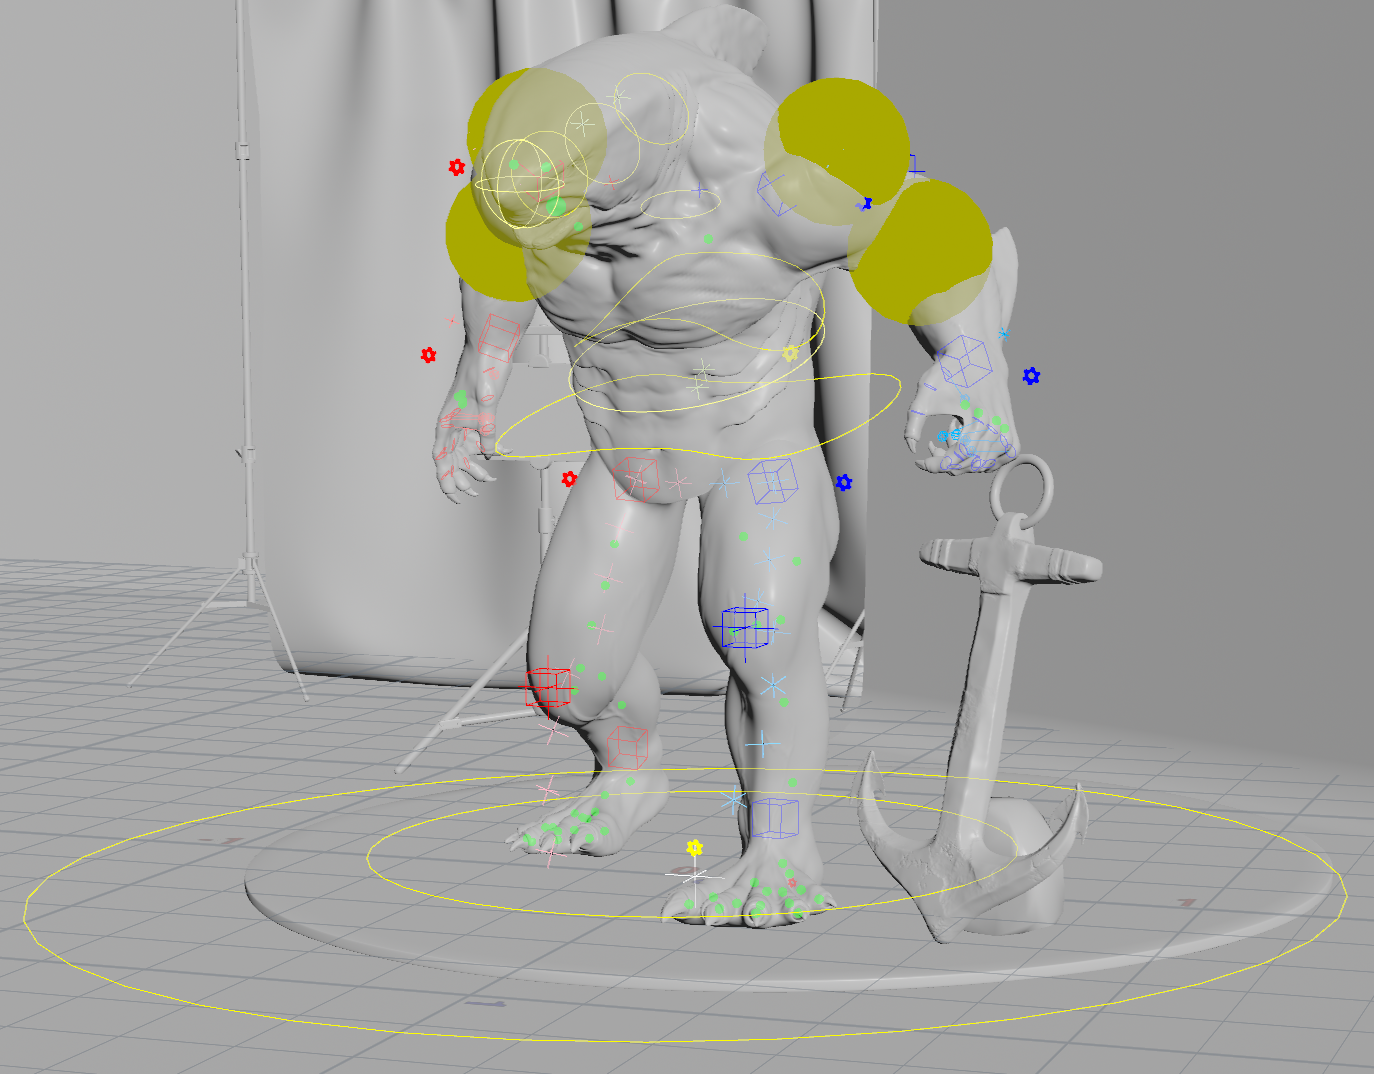
I knew I wanted to animate my character at some point in the future, so I decided to take the opportunity and learn rigging in Apex. Since I didn’t want to resculpt anything outside of the A-Pose, I wanted to make sure my weights were painted properly, and any new sculpt/mesh I input, I can adjust just a few parameters and the whole rig stays indestructible. By indestructible I mean that any mesh variation of my shark will automatically keep the same rig weight and keep whatever animation/posing that I had already been working on. Here is the Rig as well as the node setup for how it was constructed.
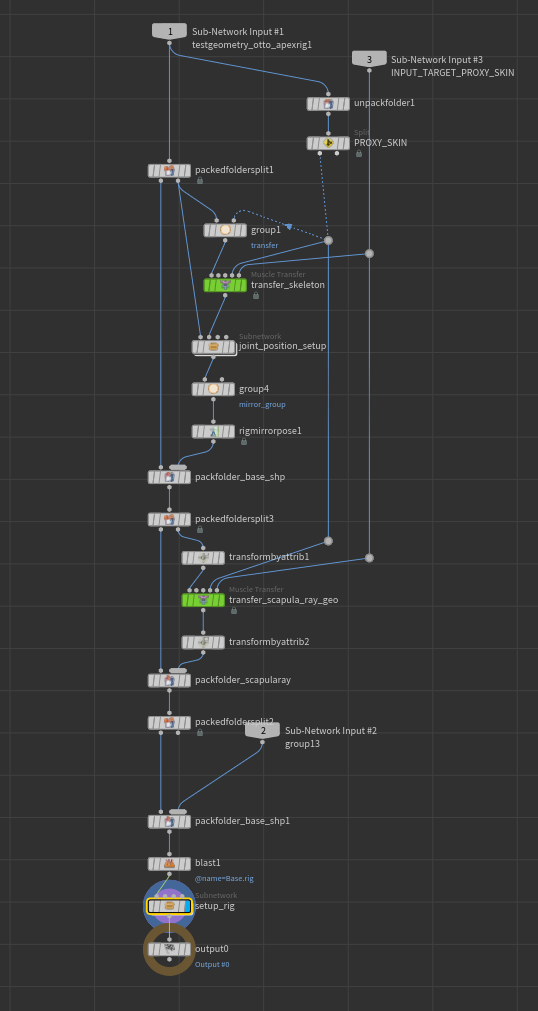
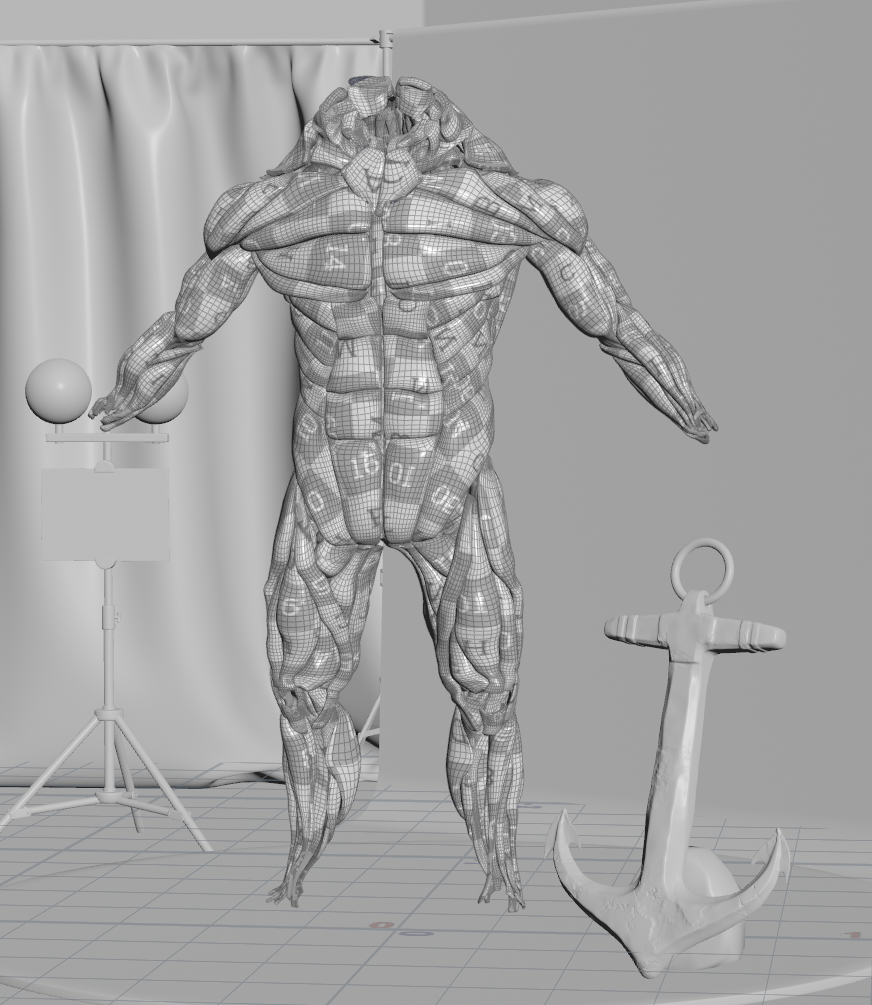
Using Houdini’s built in Otis Solver and Otto Test Character, I transferred the muscles/bones into my shark’s pose, cut off the head, hands, and feet. I set the tissue for my character, point deformed the bones, and rendered the simulation. Here is the muscle simulation result as well as the node setup for transferring and simulating the muscles.
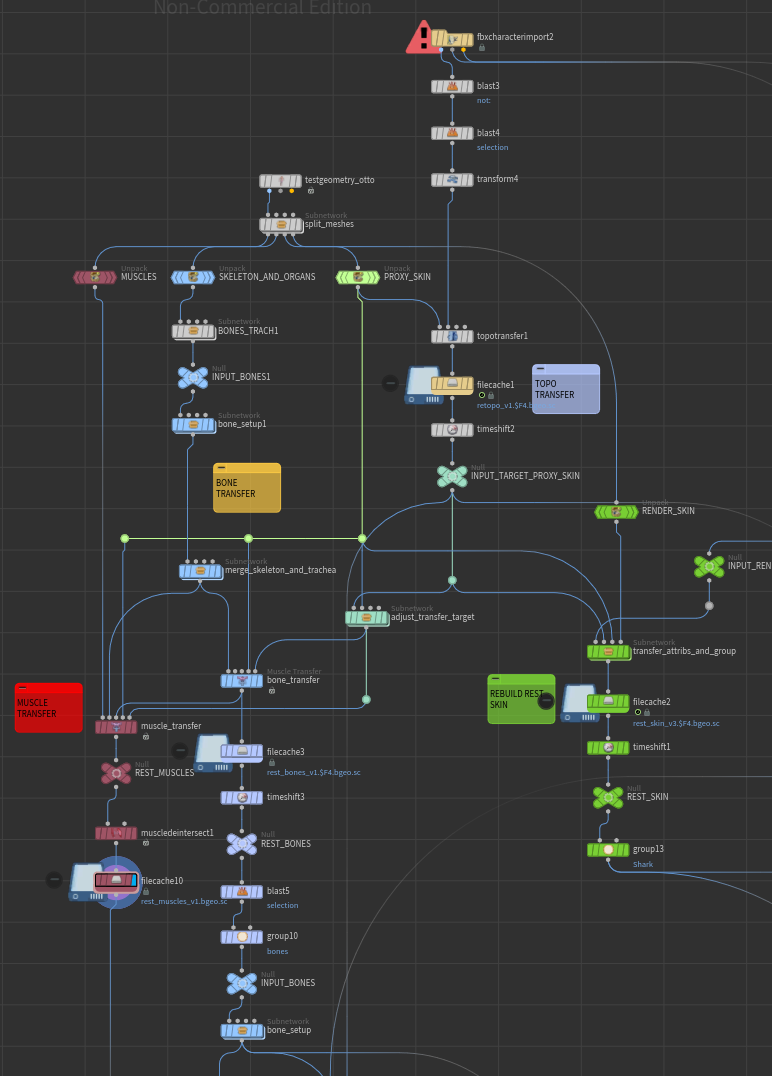
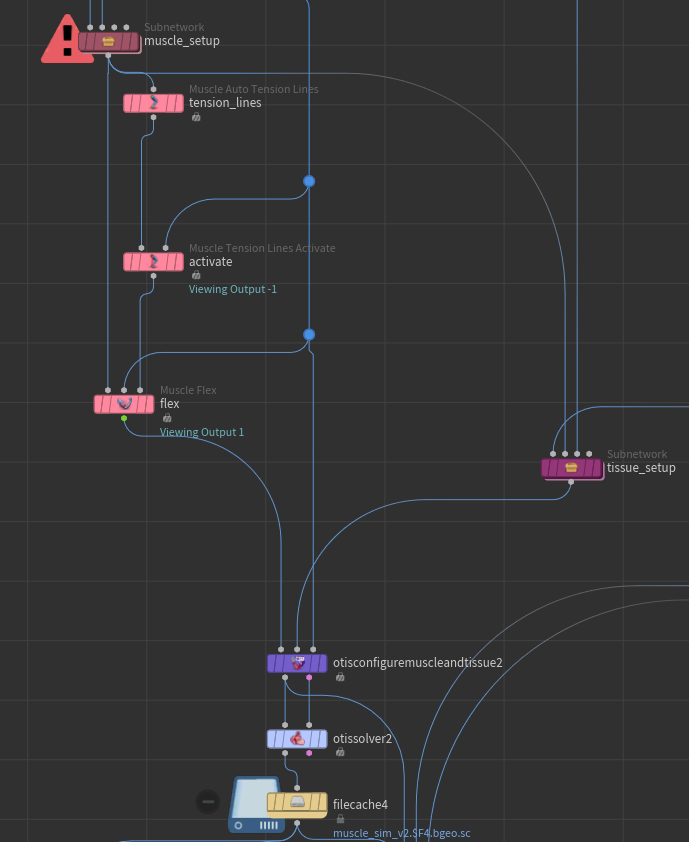
Using the tissue sim, I deformed the skin of the original animation. This allowed for cleanup in areas like his tailbone, back, arms, and legs, where the rig deformation bent in an unatural way. The simulation also allows for another depth of realism for future animation that I will end up doing.
Next, I point deformed and simulated his pants, allowing for natural stretch and folds.
Finally, I simulated the chain in his hand, setting two point deformed chain links to allow for a nature realistic rbd.
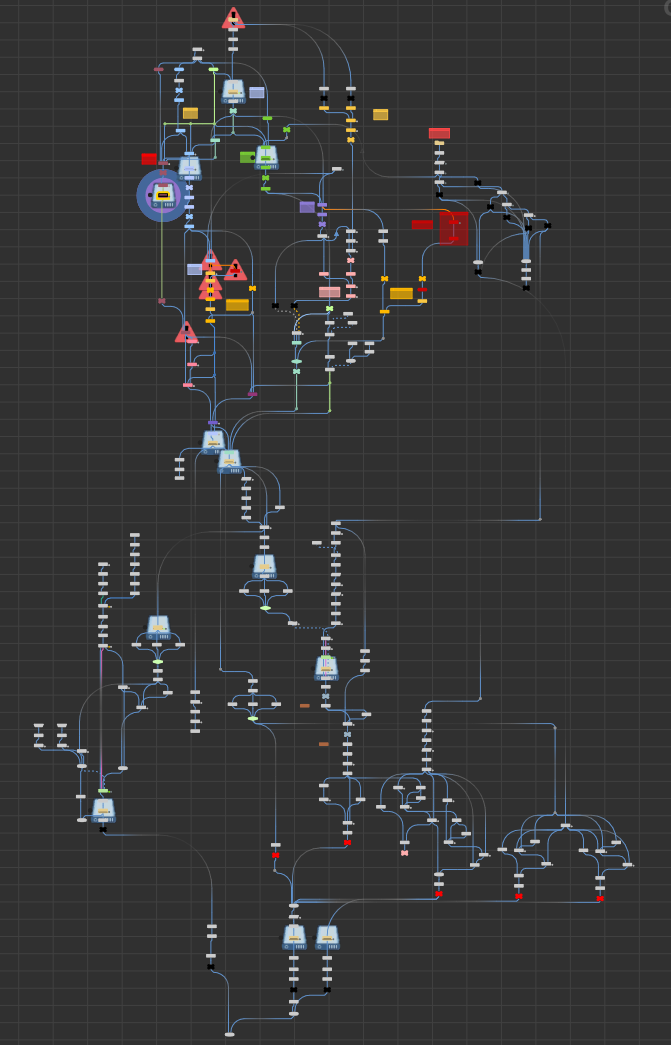
The whole Houdini Rig and Setup for this turntable allows for future development as any new animation and mesh I deliver, will allow for easy plug and cache where I wont have to re-set/re-build parts of the sim. Here is the full view of the Houdini node setup.
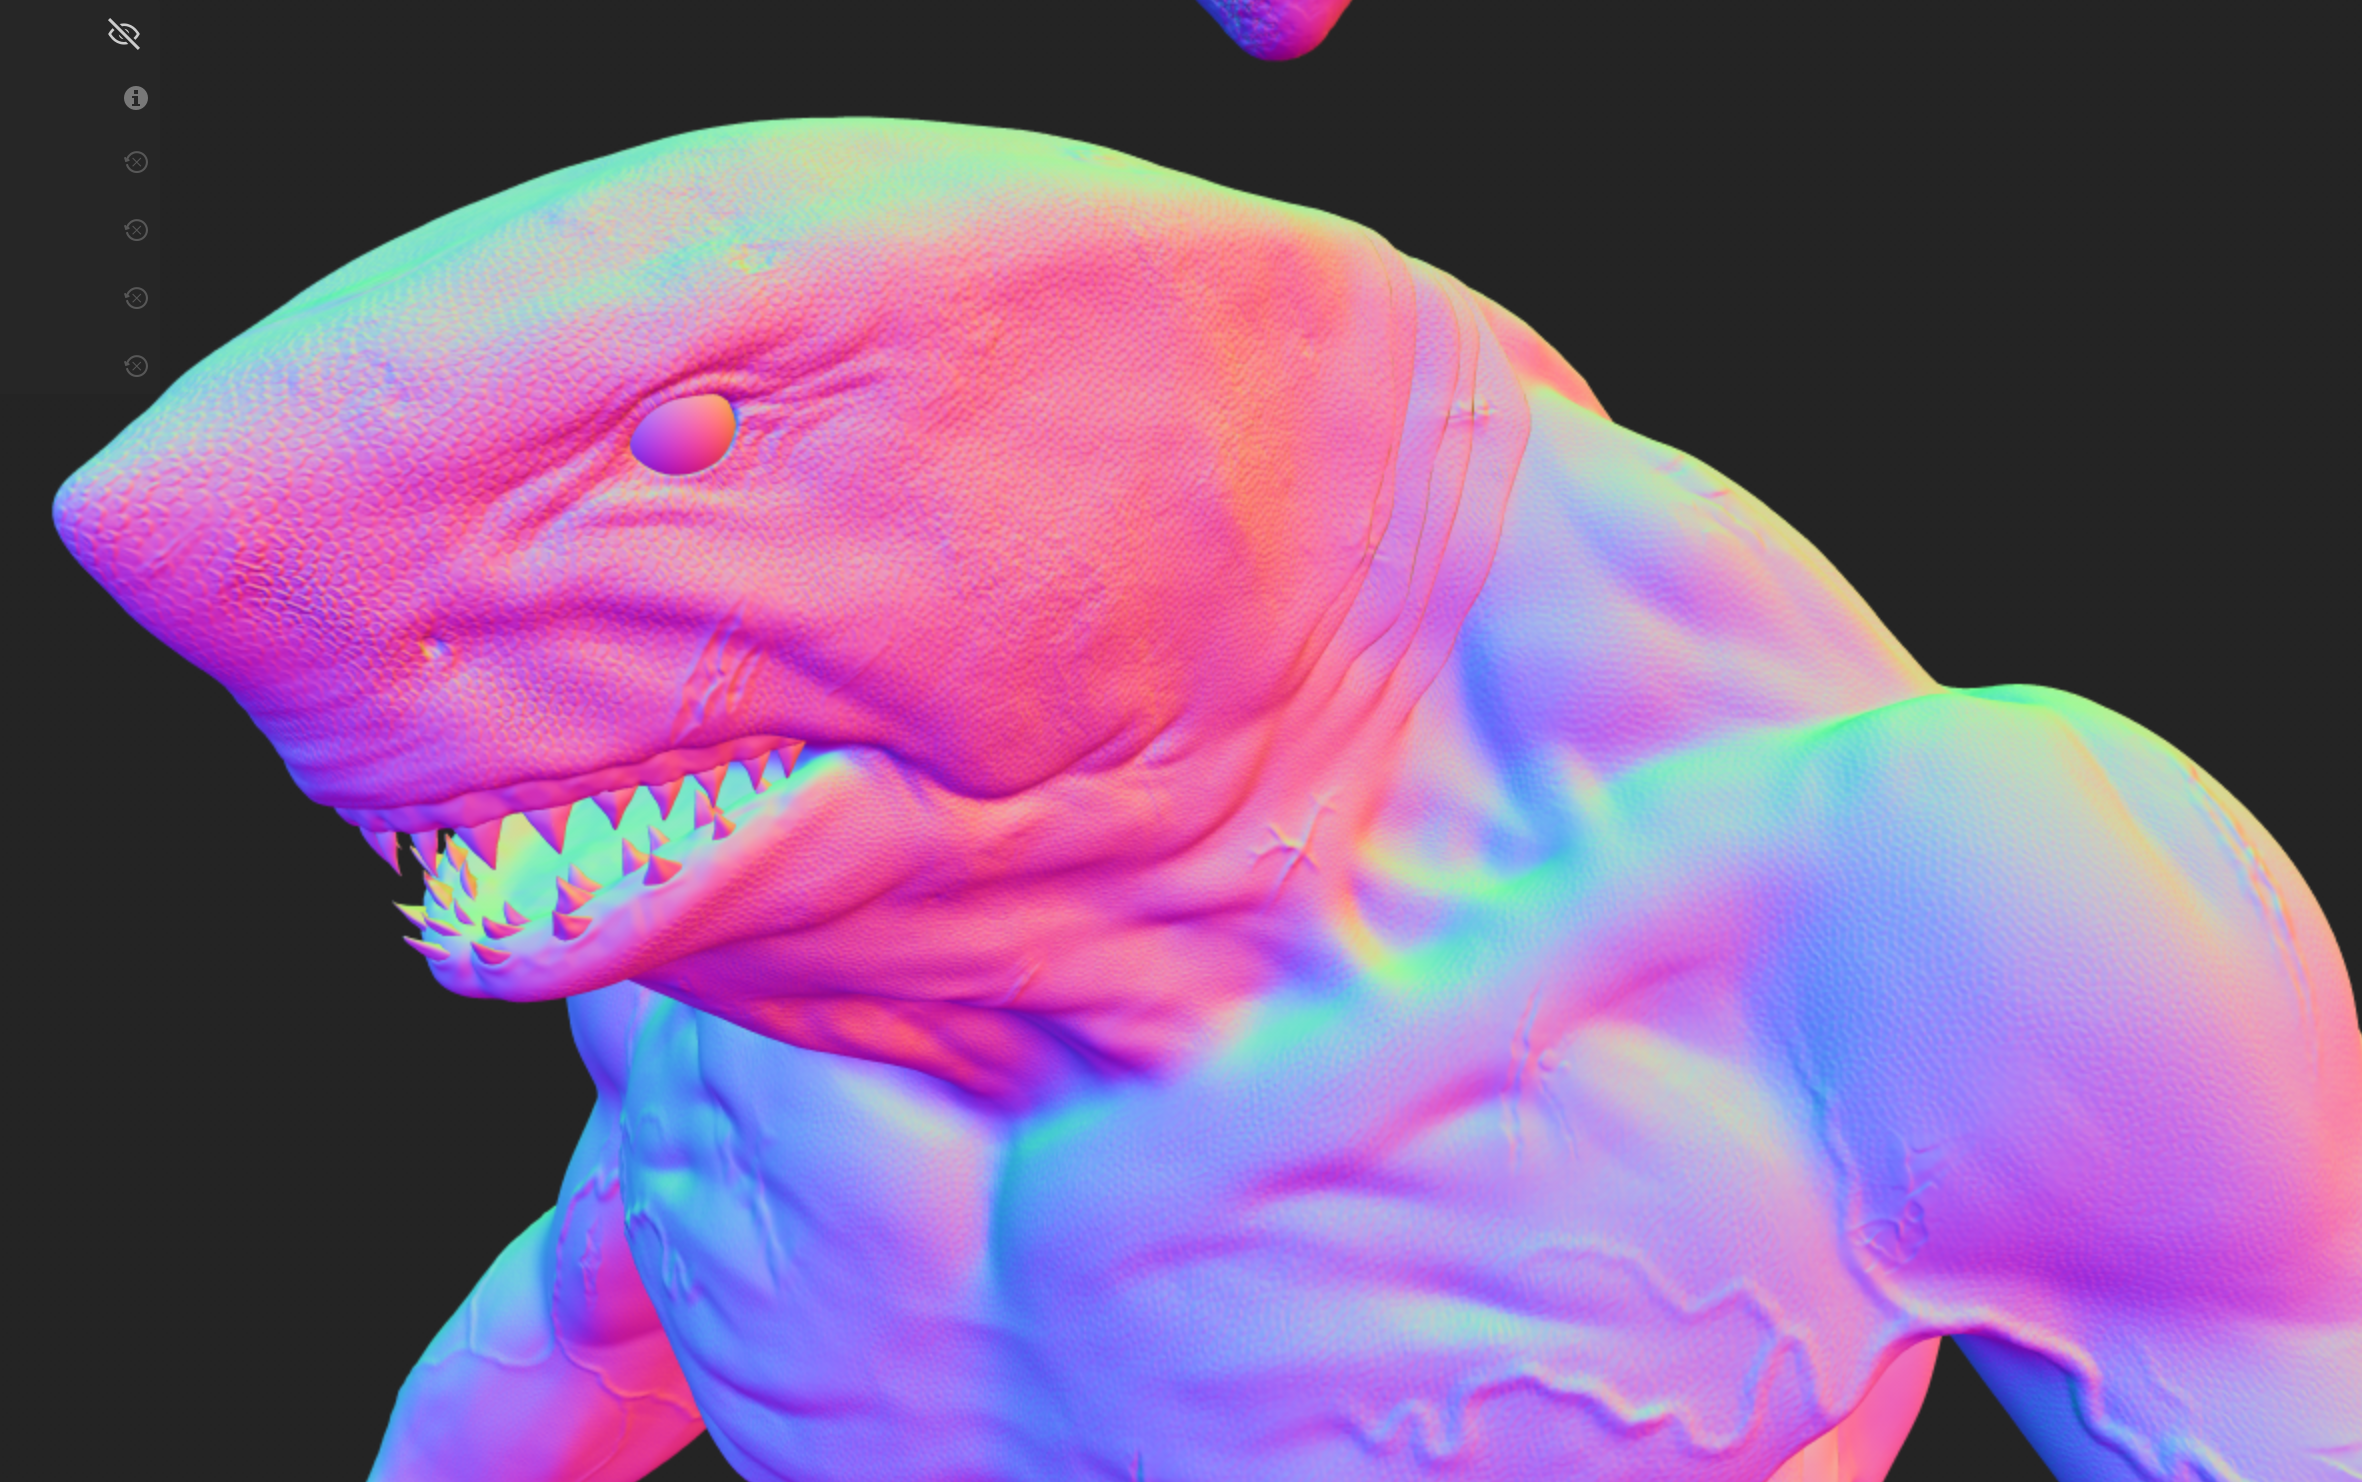
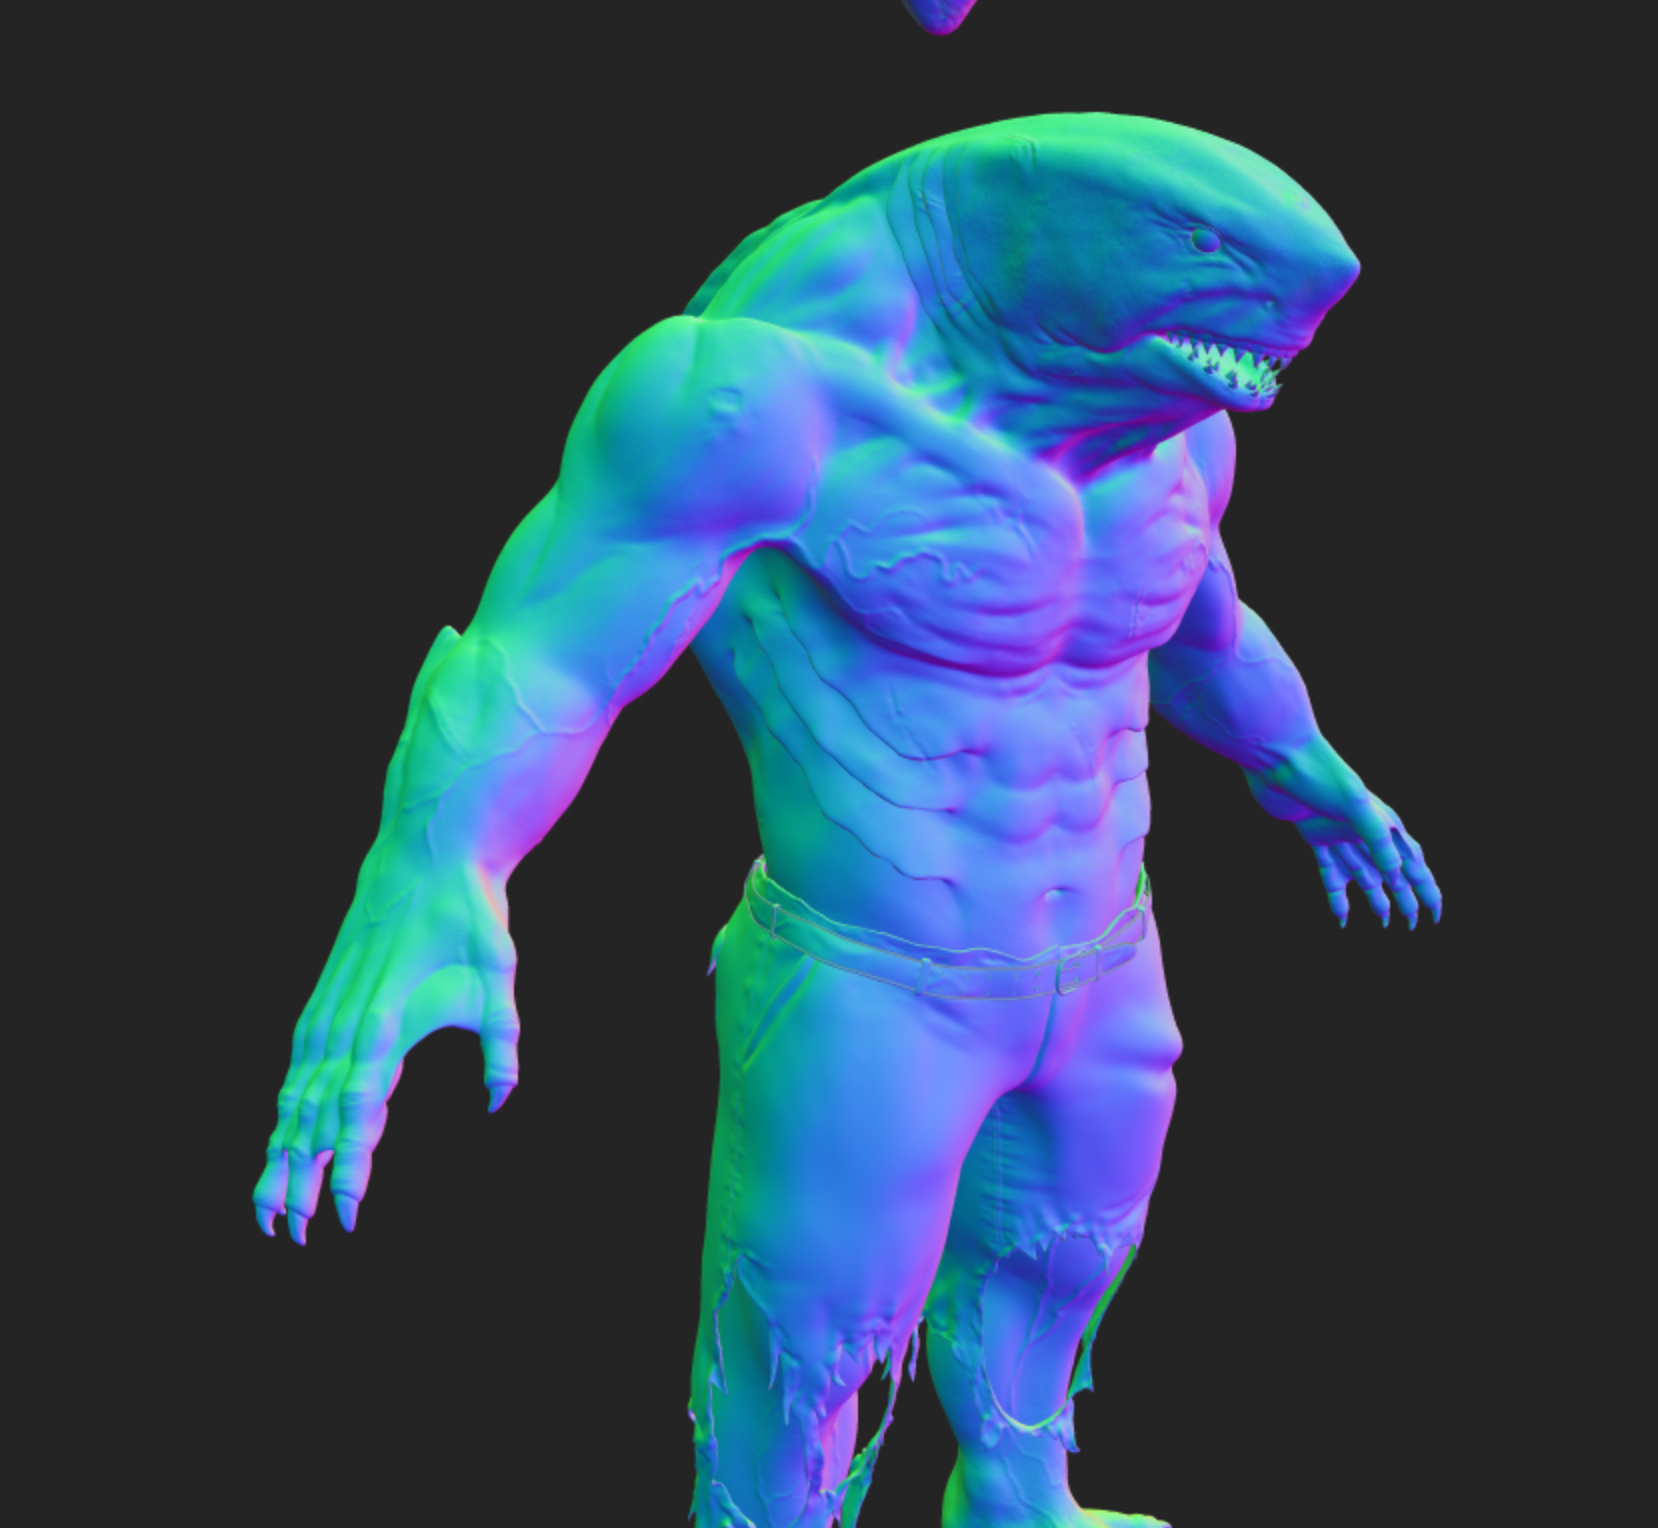
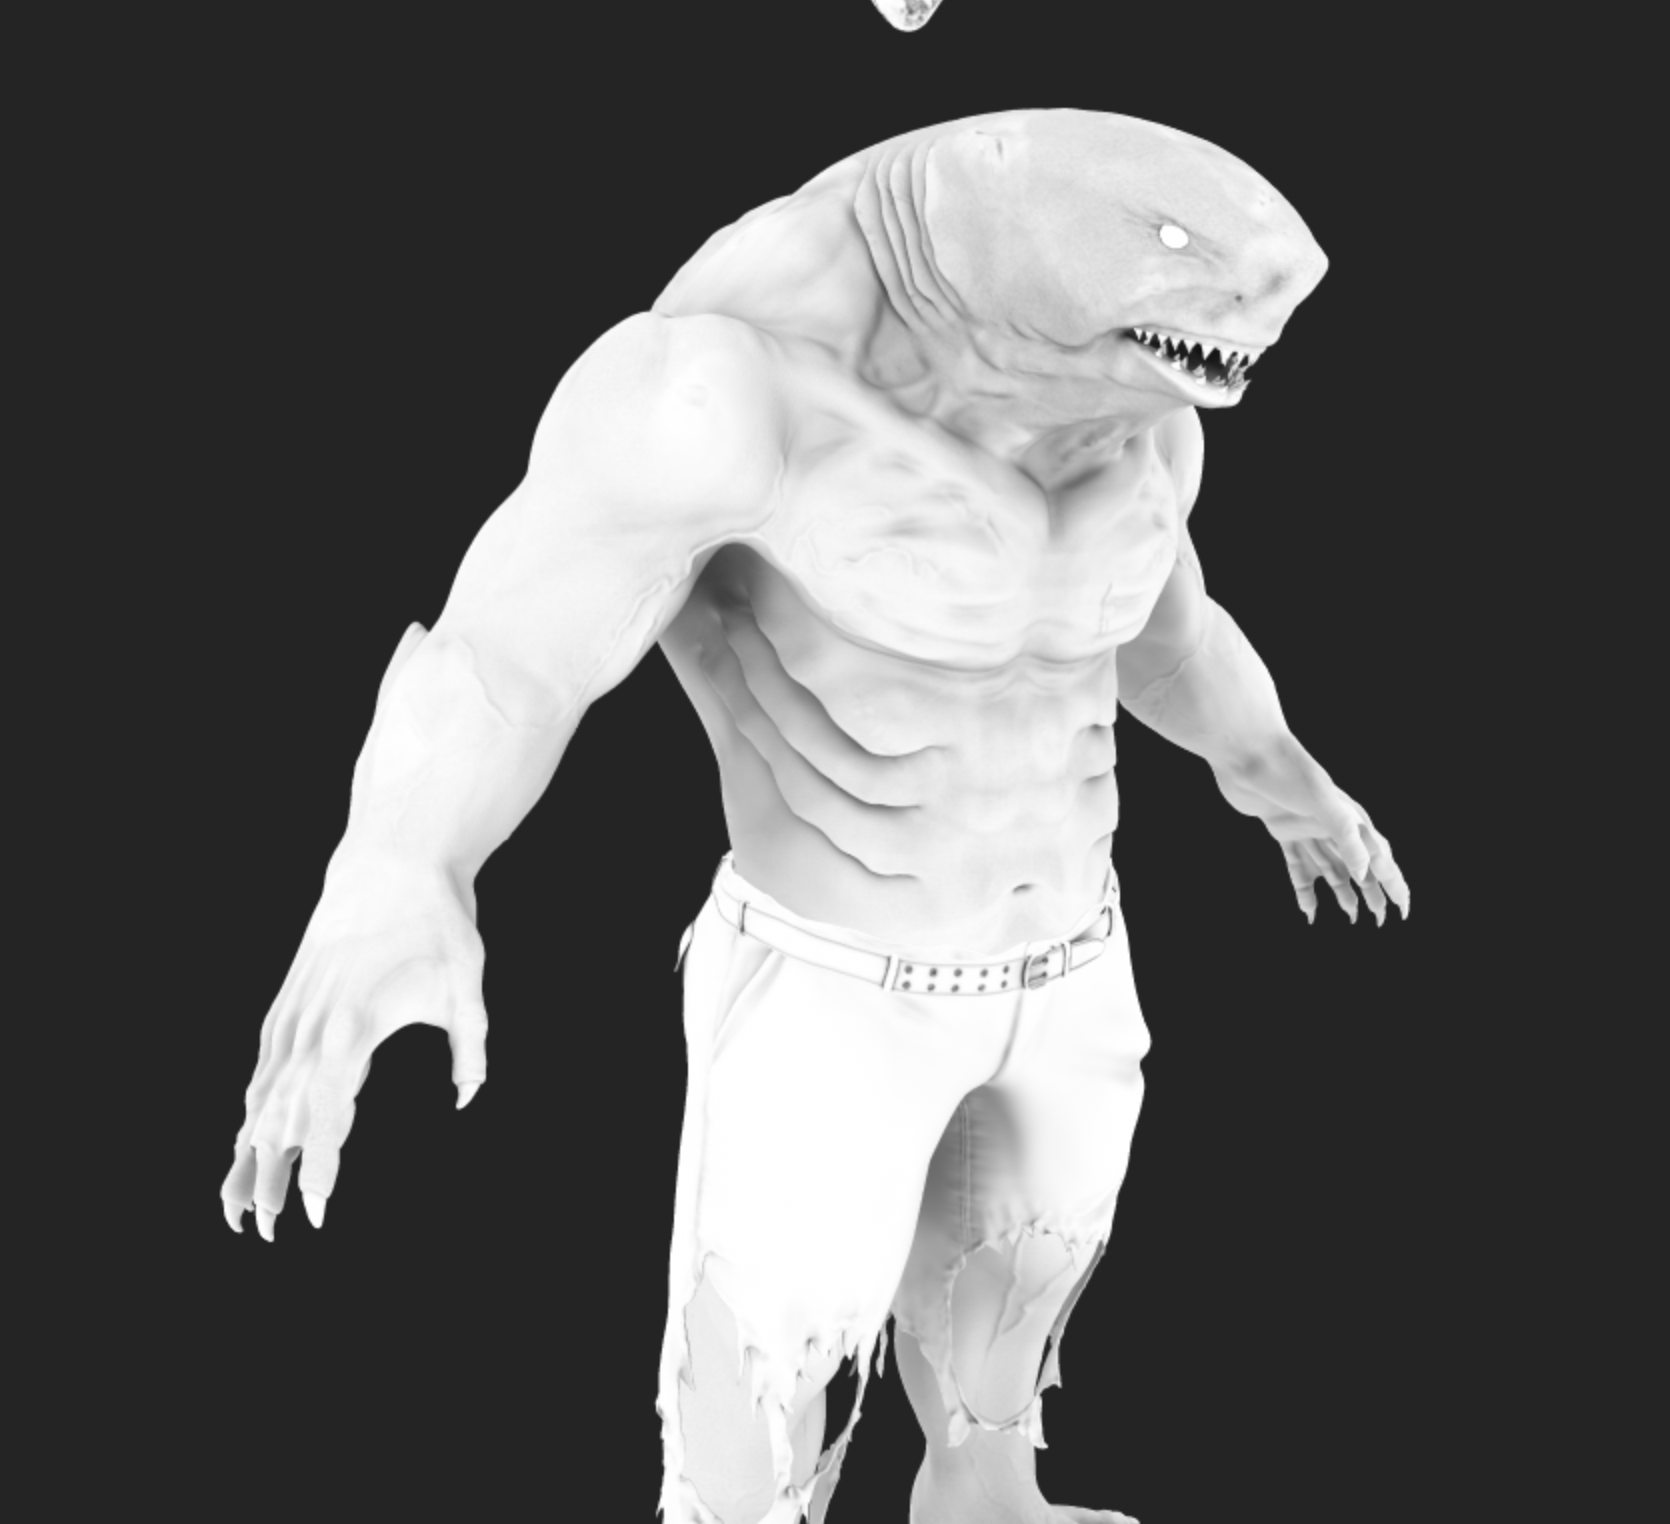
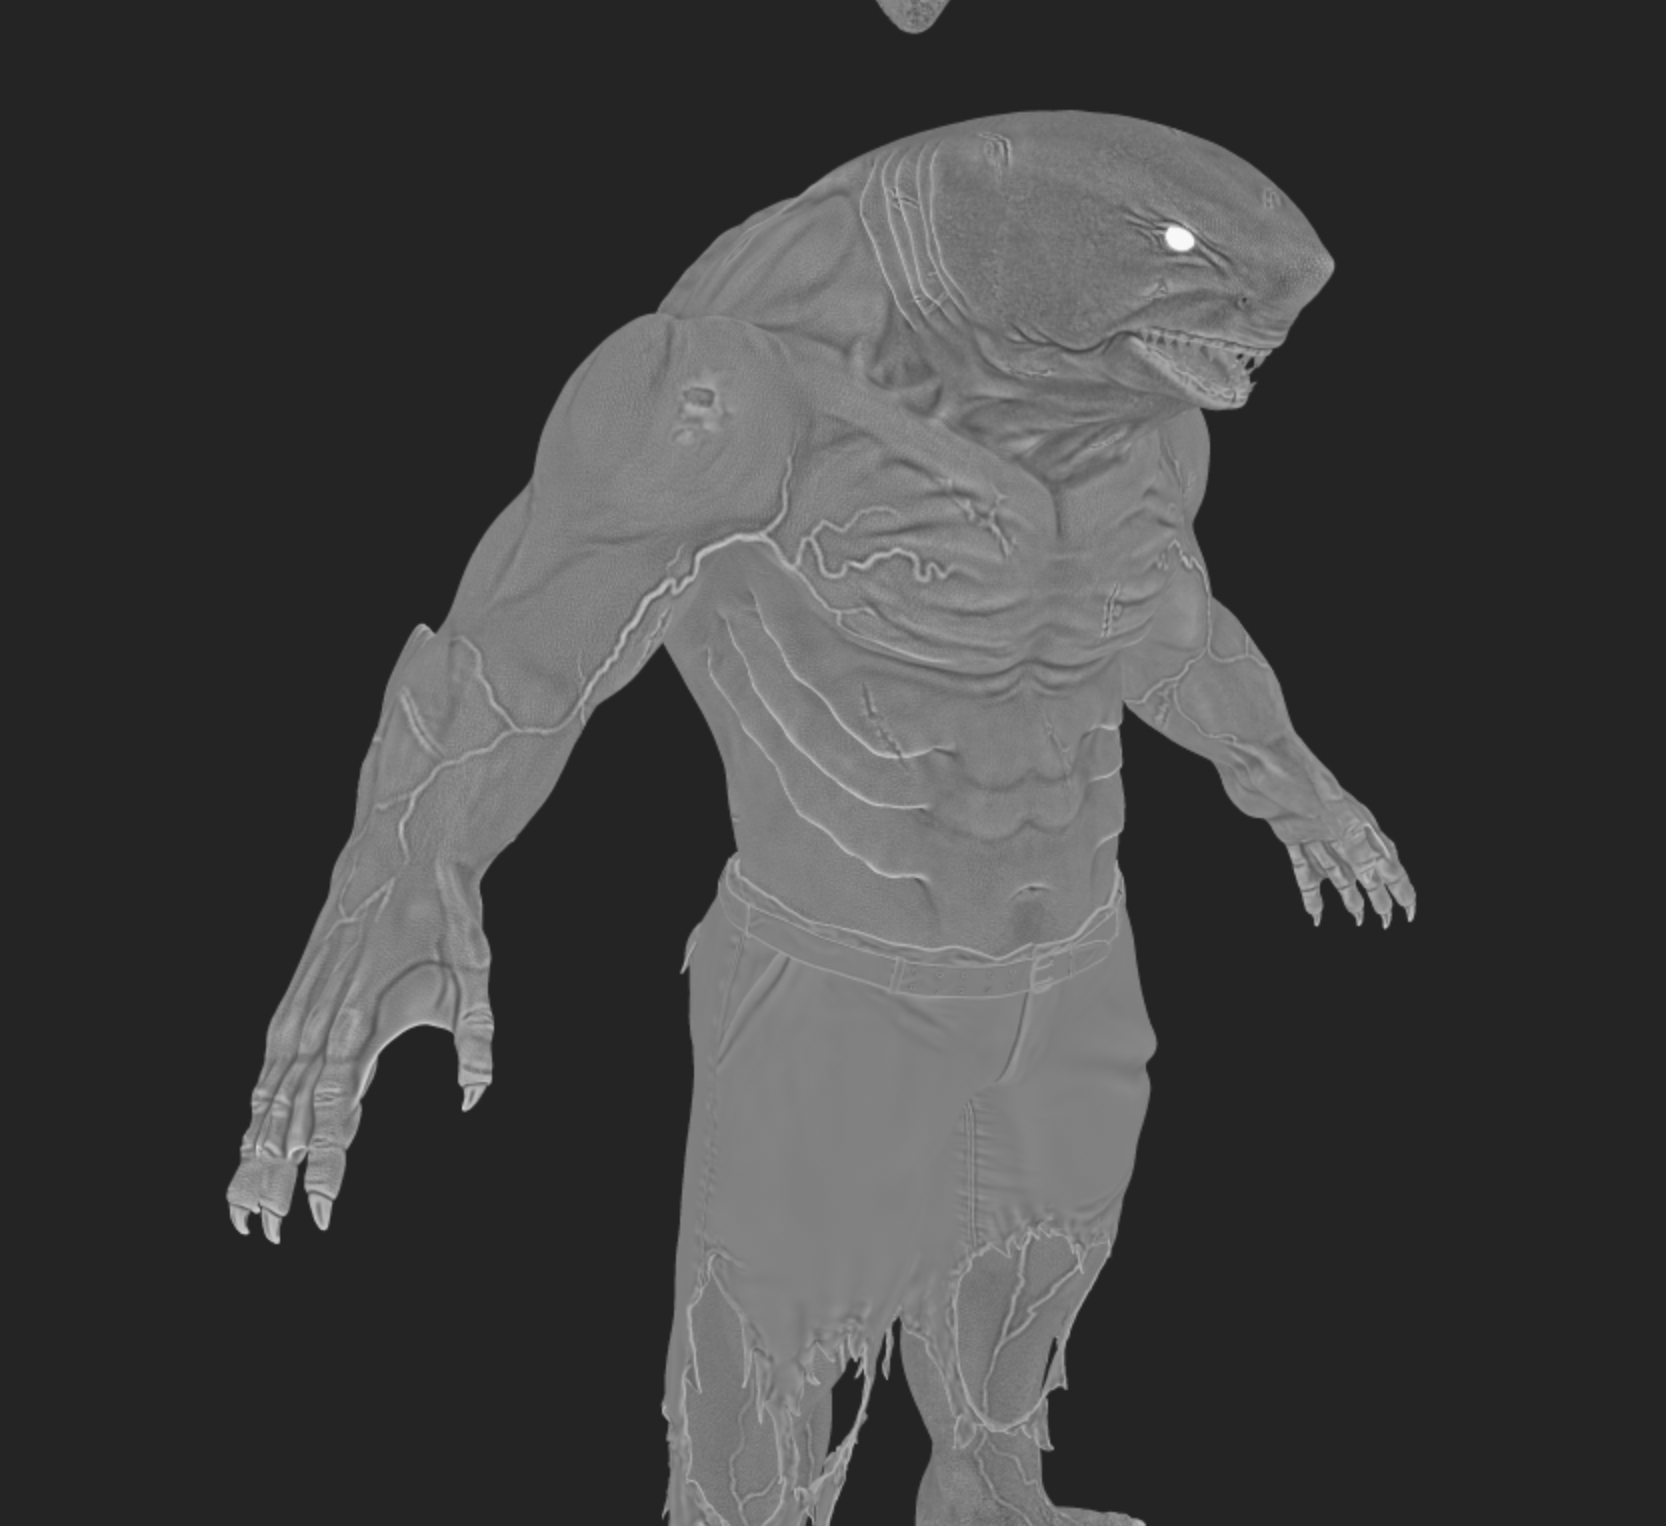
During my work on the rig and sim, I set the UVs of my Shark in RizomUV, splitting my character and pieces into 6 different materials, setting uv islands and UDIMs properly. For my sculpt, I sculpted high detail skin/scales, cuts, gashes, and veins. However, to keep my character low poly, I baked my high-poly onto my low-poly model in substance painter. here are some of those maps
Here are my final renders with my textures and full sim of the muscles/tissues deformation, pants, and chain. Rendered in Houdini Karma (1.5 mins/frame)
I plan to use this model/character in a future project, and am excited I have learned as much as I did with Zbrush, baking textures, and character FX.